How To Hardwire A Dashcam To Your Car (2026 Complete Guide)
To hardwire a dashcam to your car, connect the dashcam's power cable to the vehicle's fuse box, ensuring it's linked to a fuse that powers on with the ignition. This method provides constant power and enables features like parking mode. Installation kits cost around $10-30, while professional installation can range from $50-100.
If you've been wondering how to hardwire a dashcam to your car, you're not alone. Many car owners face this question as they seek to enhance their vehicle's safety and security. Hardwiring your dashcam not only provides a reliable power source without cluttering your dashboard with cables, but it also enables features like parking mode, which allows the camera to record while your vehicle is parked. This means you can capture critical moments, such as potential theft or accidents, even when you're not in the car.
The process of hardwiring a dashcam involves connecting it directly to your vehicle's electrical system, typically through the fuse box. This method ensures that the dashcam receives power even when the engine is off, allowing for continuous recording. In this guide, we'll walk you through the steps needed to achieve a clean and effective installation, ensuring that your dashcam operates optimally while maintaining a professional appearance. We recommend using a hardwiring kit specifically designed for your dashcam model, which simplifies the installation process and reduces the risk of damaging your vehicle's wiring.
Understanding how to hardwire a dashcam to your car is crucial for several reasons. First, it protects your investment by providing continuous surveillance, deterring potential vandalism or theft. Second, it reduces the risk of battery drain that can occur with battery-powered solutions. Lastly, a hardwired installation gives you peace of mind, knowing that your dashcam will always be ready to record when you need it most. As you follow our guide, you'll gain the confidence to tackle this project yourself, ensuring your vehicle is equipped with the best possible dashcam setup. For detailed instructions and tips, let's dive into the specifics of the installation process.

The Short Answer: How To Hardwire A Dashcam To Your Car
To hardwire a dashcam to your car, we recommend following a systematic approach that involves connecting the dashcam's power cable directly to your vehicle's fuse box. This method allows your dashcam to operate while the vehicle is off, enabling features like parking mode recording. Here's a concise roadmap to get you started:
-
Gather Necessary Tools: You will need a hardwiring kit, which typically includes a fuse tap, power cable, and sometimes a voltage regulator. A multimeter can also be useful for checking fuse ratings. Expect to spend around $15-$30 for a quality hardwiring kit, depending on the brand and features.
-
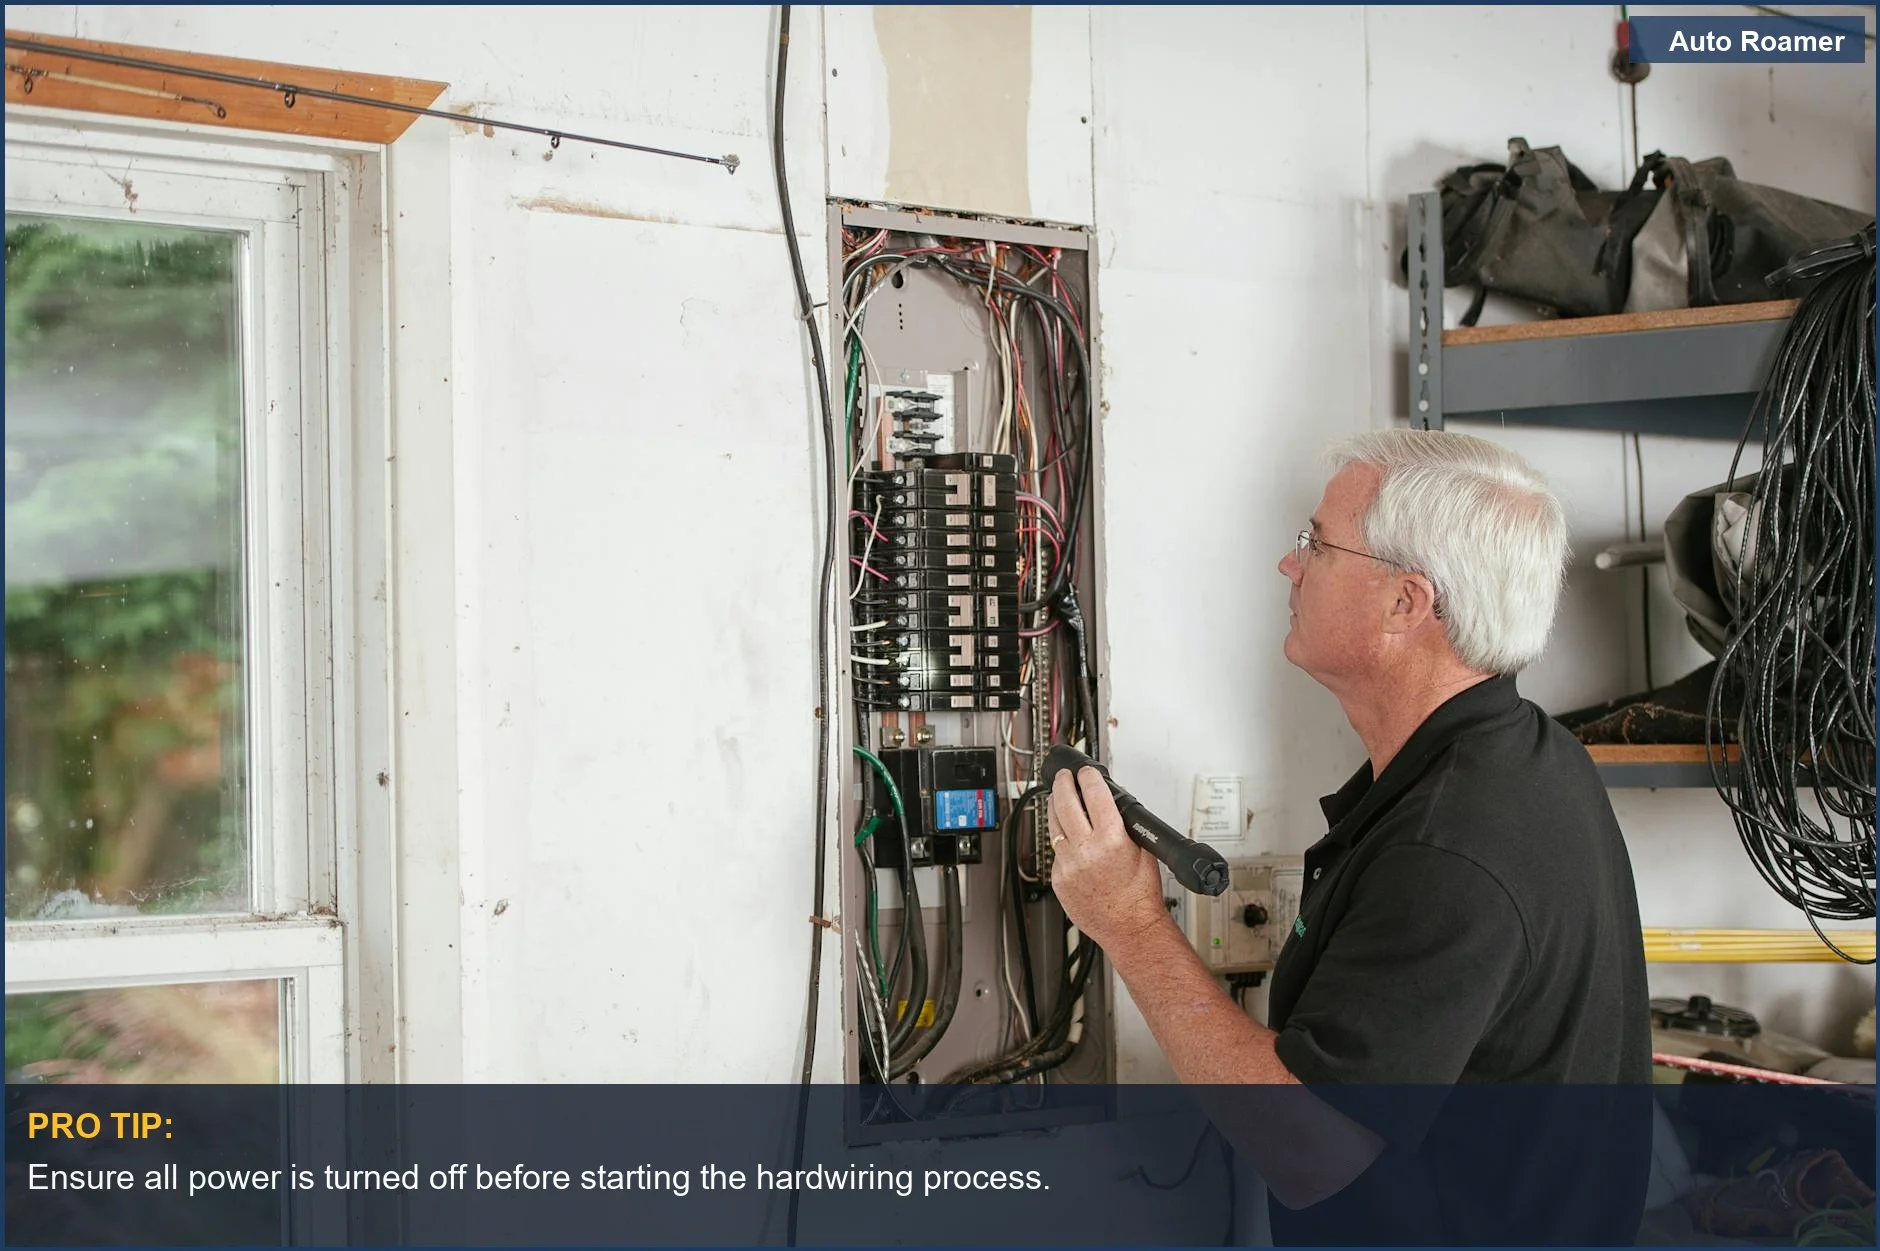
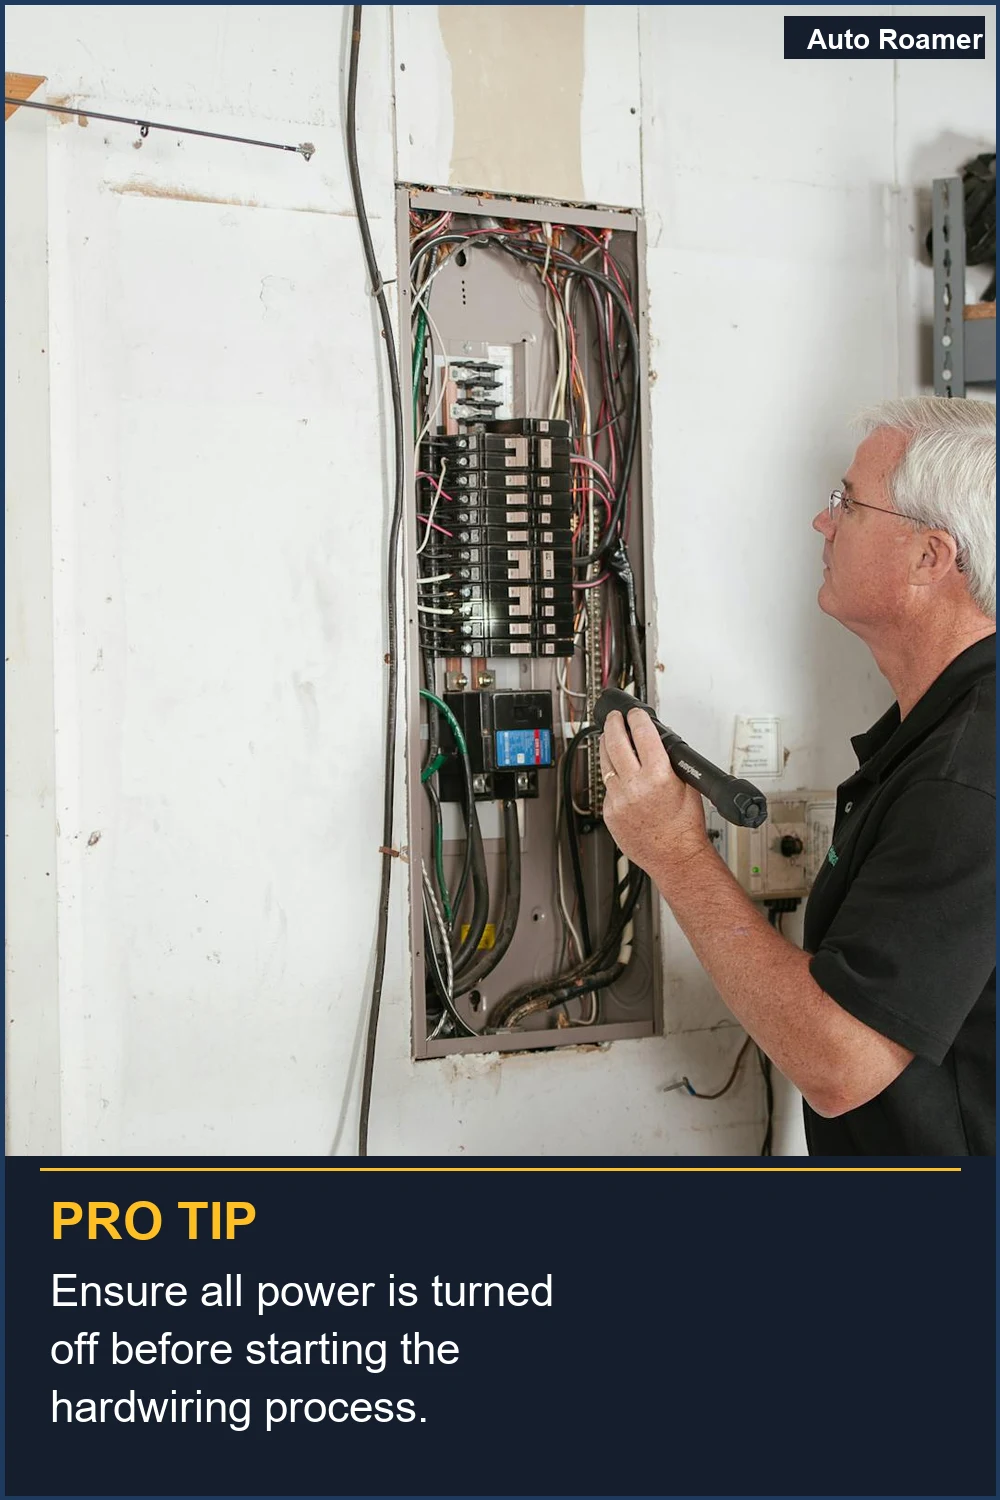
Locate the Fuse Box: The fuse box is usually found under the dashboard or in the engine compartment. Refer to your vehicle's owner's manual for its exact location. Most vehicles have multiple fuse boxes, so ensure you identify the correct one that corresponds to your dashcam's power needs.
-
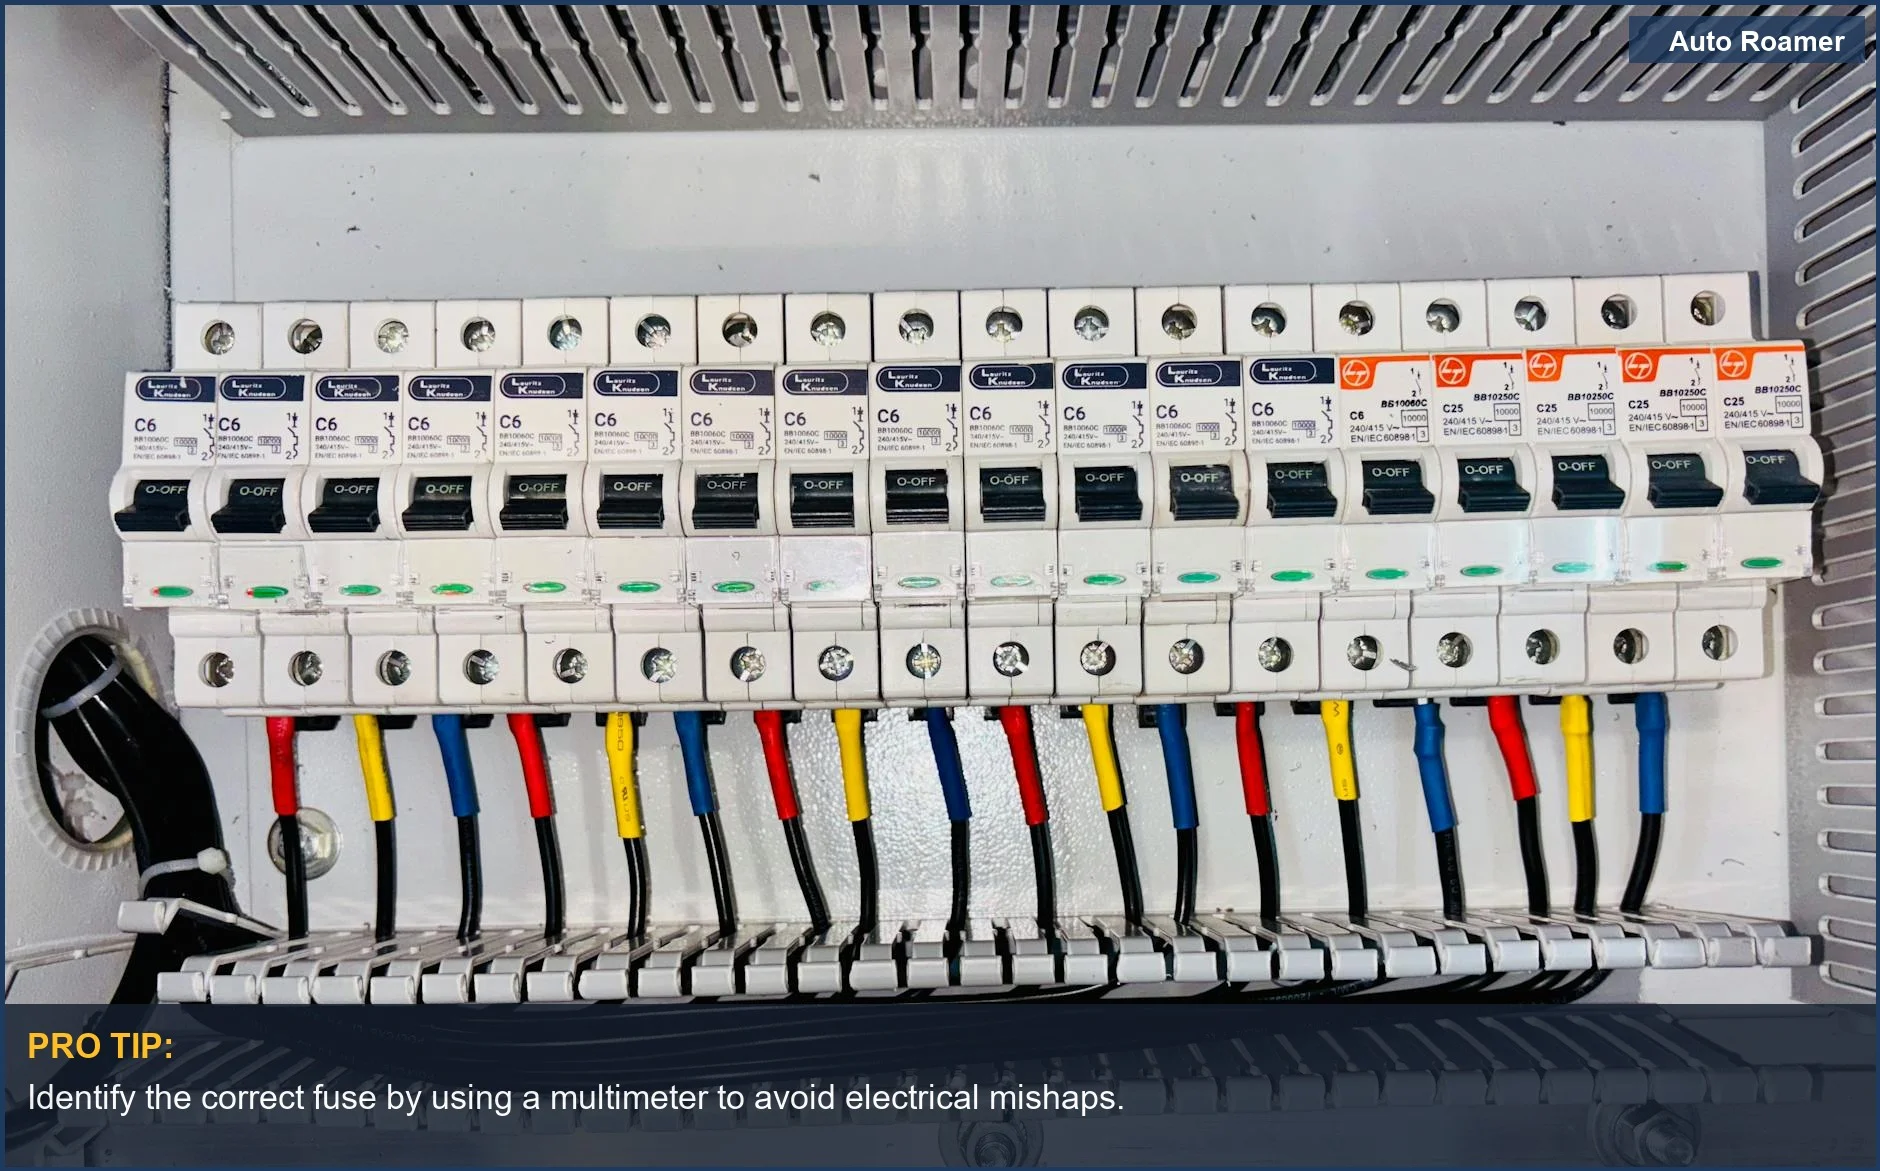
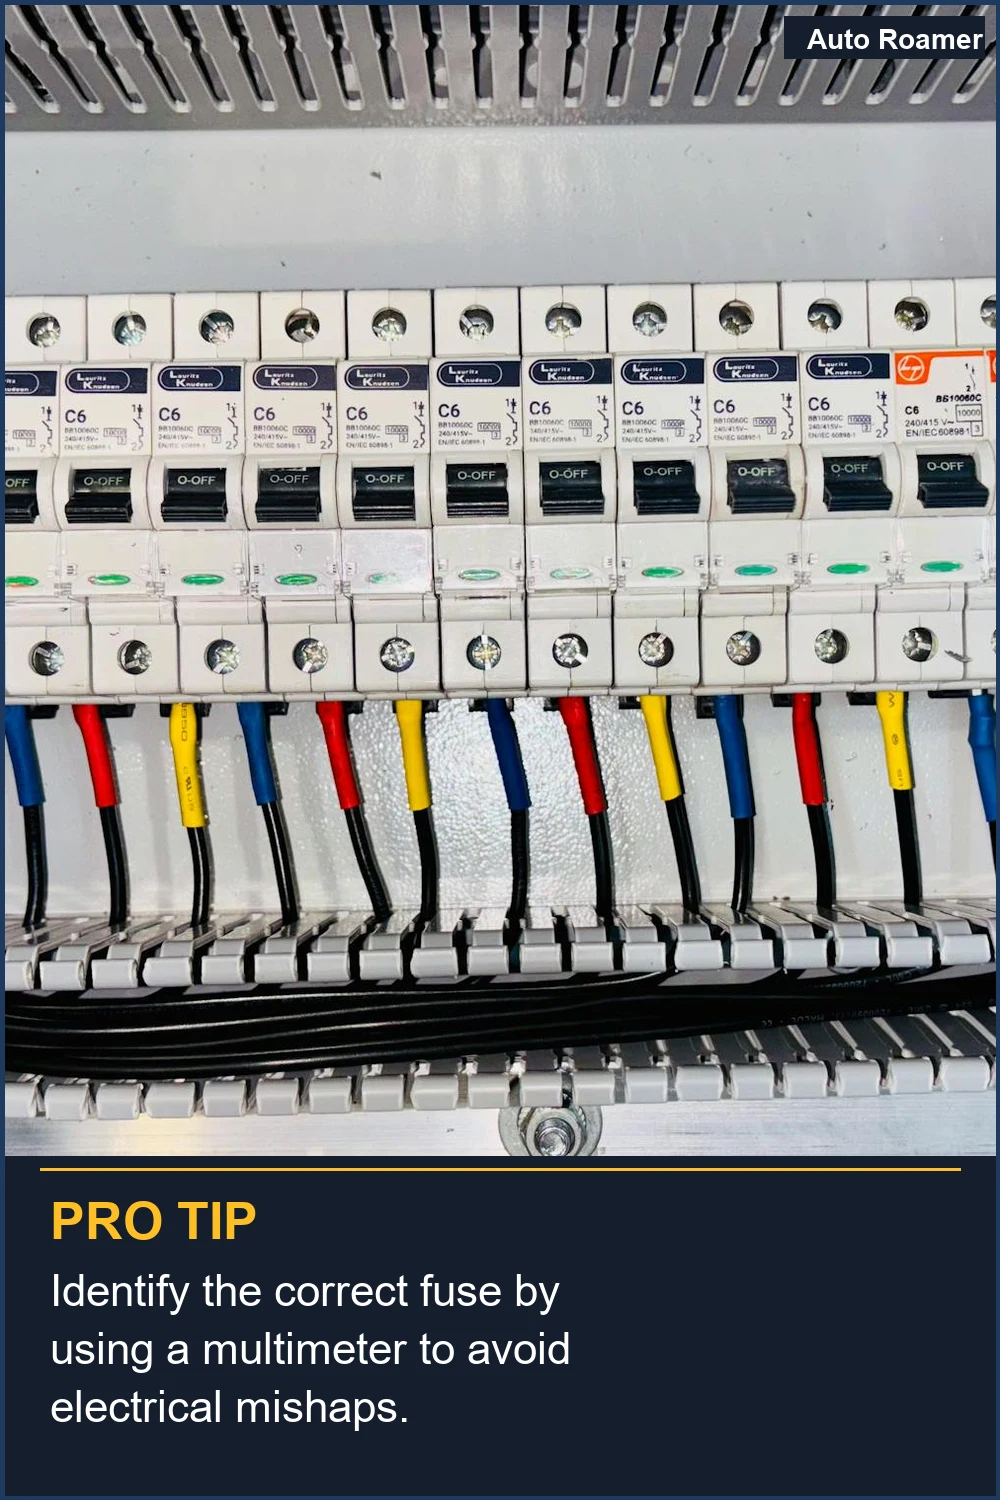
Choose the Right Fuse Slot: We recommend selecting a fuse slot that is rated between 10A-30A for optimal power delivery to your dashcam (BlackboxMyCar). This ensures your dashcam receives adequate power without risking damage to the vehicle's electrical system.
-
Install the Fuse Tap: Insert the fuse tap into the chosen slot in the fuse box. Make sure it's secure and that the fuse tap is properly connected to the dashcam's power wire. If you're unsure, you can use a multimeter to check for power at the tap before proceeding.
-
Connect the Ground Wire: The ground wire will need to be connected to a metal part of your car's chassis. Look for a suitable grounding point, and ensure the connection is tight to avoid any potential issues.
-
Route the Wiring: Carefully route the wiring from the fuse box to the dashcam, ensuring that it is hidden and secured to prevent any interference while driving. We find that using zip ties or adhesive clips can help keep the wires tidy and out of the way.
-
Test the Setup: Once everything is connected, turn the vehicle on and check if the dashcam powers up. If it does, test the recording features to confirm everything is functioning correctly.
The bottom line is that hardwiring a dashcam to your car is a straightforward process that, when done correctly, enhances your vehicle's safety and surveillance capabilities. By following these steps carefully, you can ensure a clean installation that provides reliable power to your dashcam, regardless of whether your car is on or off. For more detailed guidance, consider watching installation videos or referencing comprehensive guides, such as those available on YouTube or DDPAI.
What You Need to Know
When we consider how to hardwire a dashcam to your car, it's essential to understand both the process and the specific needs of your vehicle. We have found that hardwiring a dashcam not only provides a cleaner installation but also enables features like parking mode, allowing the camera to record even when the vehicle is off. However, this task requires careful attention to detail and a solid understanding of your car's electrical system.
First, you'll need a hardwiring kit compatible with your dashcam model. Many dashcams come with these kits, but if yours does not, they are readily available online or at automotive stores, typically ranging from $15 to $30. We recommend choosing a kit that includes a mini-USB or micro-USB connector, depending on your dashcam's requirements. Additionally, ensure that the kit comes with a fuse tap, which is essential for connecting to your vehicle's fuse box without splicing wires, maintaining safety and integrity in your car's electrical system.
The first step in the installation process is to locate your vehicle's fuse box. This is usually found under the dashboard on the driver's side or in the engine compartment, depending on your car model. Consult your vehicle's owner's manual for the exact location and diagrams of the fuses. Once you have located the fuse box, identify which fuse slot to use. We recommend using slots rated between 10A and 30A, as these provide sufficient power for the dashcam without risking electrical overload (BlackboxMyCar).
Next, remove the appropriate fuse and insert the fuse tap into the slot. The fuse tap will typically have two slots: one for the original fuse and another for the new fuse that comes with the hardwiring kit. This allows your dashcam to receive power while preserving the functionality of the original circuit. For example, if you're using a 15A fuse for your dashcam, make sure to replace the original fuse with one of the same rating if it was less than 15A.
Now, it's time to run the power cable from the fuse box to your dashcam. We recommend routing the cable along the edges of the windshield and using trim tools to tuck it neatly under the headliner and A-pillar. This not only keeps the installation looking clean but also reduces the risk of the cable getting snagged or damaged. If your vehicle has airbags, it's crucial to avoid placing wires in their deployment path. Always refer to the vehicle's service manual for guidance on airbag locations and wiring safety.
Once the wiring is in place, connect the other end to your dashcam. It's a good idea to test it before finalizing the installation. Start your car and check if the dashcam powers on properly. If it does not, double-check your connections and the fuse ratings.
Finally, there are some exceptions to consider. For instance, if your vehicle has a start-stop system, it may be prudent to install a battery discharge prevention device to ensure that your dashcam does not drain the car's battery when parked. Moreover, some vehicles may have different power sources for accessories that only provide power when the ignition is on; in such cases, you should adjust your wiring accordingly.
In summary, hardwiring a dashcam to your car involves gathering the right materials, understanding your vehicle's fuse box, and carefully routing the wires while adhering to safety precautions. The process may seem daunting, but with careful planning and execution, you will enhance your vehicle's security and functionality. For more detailed visual guidance, consider checking out tutorials from experienced users on platforms like YouTube, where you can see the installation process in action.
How to Handle This
To hardwire a dashcam to your car, we'll guide you through a step-by-step process that simplifies this task, ensuring you can do it yourself with confidence.
Step 1: Gather Your Tools and Materials
Before you start, you need a few essential items. We recommend a hardwiring kit, which typically includes a power cable with a fuse, a mini fuse tap, and an OBD-II adapter if needed. Ensure you have a flathead screwdriver, a panel removal tool, wire strippers, and possibly electrical tape. You can find hardwiring kits online, often priced between $15 and $30 depending on the brand and features.
Step 2: Locate Your Fuse Box
Next, identify your vehicle's fuse box, which is usually located under the dashboard on the driver's side or in the engine compartment. Consult your owner's manual for specific information about your vehicle. This step is crucial; without access to the fuse box, you won't be able to connect the dashcam properly.
Step 3: Choose the Right Fuse
Select a fuse slot that is rated between 10A-30A, as this range is ideal for providing adequate power to your dashcam without overloading the circuit (BlackboxMyCar). We often recommend using slots for accessories that only receive power when the ignition is on, such as the radio or lighter, to prevent battery drain when the vehicle is off.
Step 4: Connect the Hardwire Kit
Using a fuse tap, connect the hardwire kit's red wire to the chosen fuse slot. The black wire should be connected to a grounding point on the vehicle's chassis, which you can usually find nearby. Ensure the connections are secure; this is critical for reliable operation. If you're unsure about the ground point, look for a bolt or screw that connects directly to the metal frame of your car.
Step 5: Route the Wiring
Route the wire from the fuse box to the dashcam location. This may involve tucking the wire under the trim panels or using zip ties to secure it, keeping it neat and out of the way. We find that using a panel removal tool can make this step much easier, allowing you to pop off panels without damaging them.
Step 6: Test the Installation
Before closing everything up, test your dashcam to ensure it powers on correctly. Turn on your car and check that the dashcam begins recording. If it does not, double-check your connections and ensure that you have selected the correct fuse.
Tips from Experience
When hardwiring a dashcam, make sure to use a fuse tap instead of splicing wires, as this preserves the integrity of your vehicle's electrical system (Vantrue). Always double-check your work before reassembling the panels; a neat installation will not only look better but also reduce the risk of loose wires causing malfunctions.
By following these steps, you can efficiently hardwire a dashcam to your car, ensuring that you capture all those important moments on the road.
Safety Considerations
When considering how to hardwire a dashcam to your car, it's crucial to prioritize safety. There are several risks involved that can lead to both immediate hazards and long-term consequences.
One of the primary safety risks is electrical issues. Improper connections can result in short circuits, which may cause your vehicle's electrical system to malfunction or even lead to a fire. We recommend using a hardwiring kit specifically designed for dashcams, as these kits often include fuses that help prevent overcurrents and electrical failures. For example, using a fuse rated between 10A-30A, as suggested by BlackboxMyCar, can provide adequate protection for your dashcam.
Health hazards also come into play, particularly if you are working in confined spaces under the dashboard. Electrical components can be sharp, and there's a risk of injury if you're not careful. Additionally, if you have to maneuver around airbag systems, improper installation could inadvertently trigger them, which poses a significant safety concern. Always ensure that you disconnect the battery before starting any installation to minimize these risks.
Legal consequences can arise from improper installations as well. If your dashcam leads to any electrical issues that impact vehicle safety, you may face liability in the event of an accident. Moreover, if your installation interferes with your car's warranty, you could be left with significant repair costs. Ensure you follow the manufacturer's guidelines for installation and maintain compliance with local laws regarding dashcam usage.
What to watch out for during the installation process includes avoiding any interference with your vehicle's electronic systems. Keep an eye on the wires and ensure they're not pinched or exposed where they can be damaged over time. We also advise against using power sources that exceed your dashcam's requirements, as this could lead to overheating.
Finally, there are times when it's best to get professional help. If you're unfamiliar with your vehicle's electrical system or uncomfortable working with wiring, consider hiring a qualified technician. They can ensure that your dashcam is hardwired safely and correctly, which not only protects your investment but also your peace of mind on the road.
Common Mistakes to Avoid
When learning how to hardwire a dashcam to your car, it's easy to make some common mistakes that can lead to frustration or even damage to your vehicle. We've seen many enthusiasts and first-timers overlook key details, which can affect the performance and safety of their installation.
One frequent misconception is that any fuse slot will work for powering a dashcam. In reality, the amperage rating of the fuse slot matters significantly. We recommend selecting fuse slots rated between 10A and 30A, as these provide sufficient power without risking a blown fuse or electrical issues. Using a slot that is either too low or too high can result in inadequate power supply or potential damage to your dashcam and vehicle's electrical system Source.
Another common error is improperly routing the power cable. While it might seem straightforward, neglecting to secure the wiring can lead to rattling sounds or even disconnection over time. We advise using zip ties or adhesive clips to keep the wires neatly tucked away and secured. Additionally, be sure to avoid areas that could interfere with airbags or other safety features; this is particularly crucial in modern vehicles where safety systems are integrated throughout the cabin Source.
Many also assume that hardwiring is a one-size-fits-all solution. However, the type of dashcam and vehicle can greatly influence the installation process. For instance, if your dashcam has parking mode capabilities, you'll need to ensure that the hardwiring kit is compatible and correctly configured to enable this feature. Not all kits are created equal, and some may require additional components to function properly Source.
Finally, we often see people overlook the importance of testing their installation before finalizing everything. It may seem tedious, but ensuring that the dashcam powers on correctly, both when the vehicle is running and when it is parked, can save a lot of headaches later. A simple test can confirm that you've connected everything properly and that the dashcam is functioning as intended.
By avoiding these common pitfalls, you can ensure a smoother installation process when you hardwire a dashcam to your car, ultimately enhancing your driving experience and safety.

Key Takeaways
When considering how to hardwire a dashcam to your car, it's essential to remember the main points we've discussed throughout this guide. First, gather all necessary tools and components, including a hardwire kit, which typically retails for about $20 to $30. Next, locate your vehicle's fuse box and choose a fuse slot that provides the appropriate amperage, ideally between 10A and 30A, to ensure your dashcam receives adequate power without risking damage (Source). We recommend following the step-by-step process to ensure a clean installation that keeps wiring hidden, enhancing the overall aesthetic of your vehicle.
For those unsure about their electrical skills or uncomfortable working with the vehicle's wiring, it is wise to seek professional help. An experienced technician can ensure not only a safe installation but also the proper functionality of your dashcam, especially if your car has complex wiring systems or safety features like airbags that need to be respected (Source).
Ultimately, hardwiring a dashcam can provide significant benefits, such as activating parking mode and ensuring constant recording without draining your car battery. However, we must emphasize that if you encounter any uncertainty at any point, consulting with a professional can save you time and prevent potential issues. Remember, safety first!
Frequently Asked Questions
What should I know before hardwiring my dashcam?
What mistakes do people commonly make when hardwiring a dashcam?
Is it safe to hardwire my dashcam?
What do experts suggest for a successful dashcam hardwiring?
Are there any legal considerations when hardwiring a dashcam?
Sources
- Hardwire Your Dash Cam the EASY Way – No Splicing or Fuse ...
- How to Hardwire Install a Dash Cam - BlackboxMyCar
- 2026 owners, hardwire dashcam help! (front & back) I purchased a 2
- How To Install Dash Cam? A Step By Step Guide 2025 - DDPAI
- 2026 owners, hardwire dashcam help (front & back) : r/subaruoutback