Suvcon 3Ch Dash Cam Installation
You're on a cross-country road trip, and a driver cuts you off, narrowly avoiding a collision. Or maybe you're parked overnight at a remote campsite, and a suspicious vehicle circles your rig. In both scenarios, having clear, undeniable evidence is crucial.
You're on a cross-country road trip, and a driver cuts you off, narrowly avoiding a collision. Or maybe you're parked overnight at a remote campsite, and a suspicious vehicle circles your rig. In both scenarios, having clear, undeniable evidence is crucial. That's where the SUVCON 3ch dash cam installation becomes a priority, not a luxury. We've all been in those nail-biting situations where you wish you had proof of what actually happened. This guide cuts through the confusion to get your SUVCON 3-channel dash cam up and running, capturing everything from the front, rear, and cabin, so you're covered no matter what the road throws at you Watch Full Review Demo of the SUVCON Dash Cam on Amazon Live. We'll walk you through the process, ensuring you don't end up with a dangling wire or a camera that won't power on SUVCON dash cam. Getting this right means peace of mind on every journey.

The Short Answer
Successfully installing your SUVCON 3ch dash cam hinges on a methodical approach, starting with proper mounting and ensuring all connections are secure before powering up. The core challenge is managing the three camera feeds and their respective cables cleanly within your vehicle.
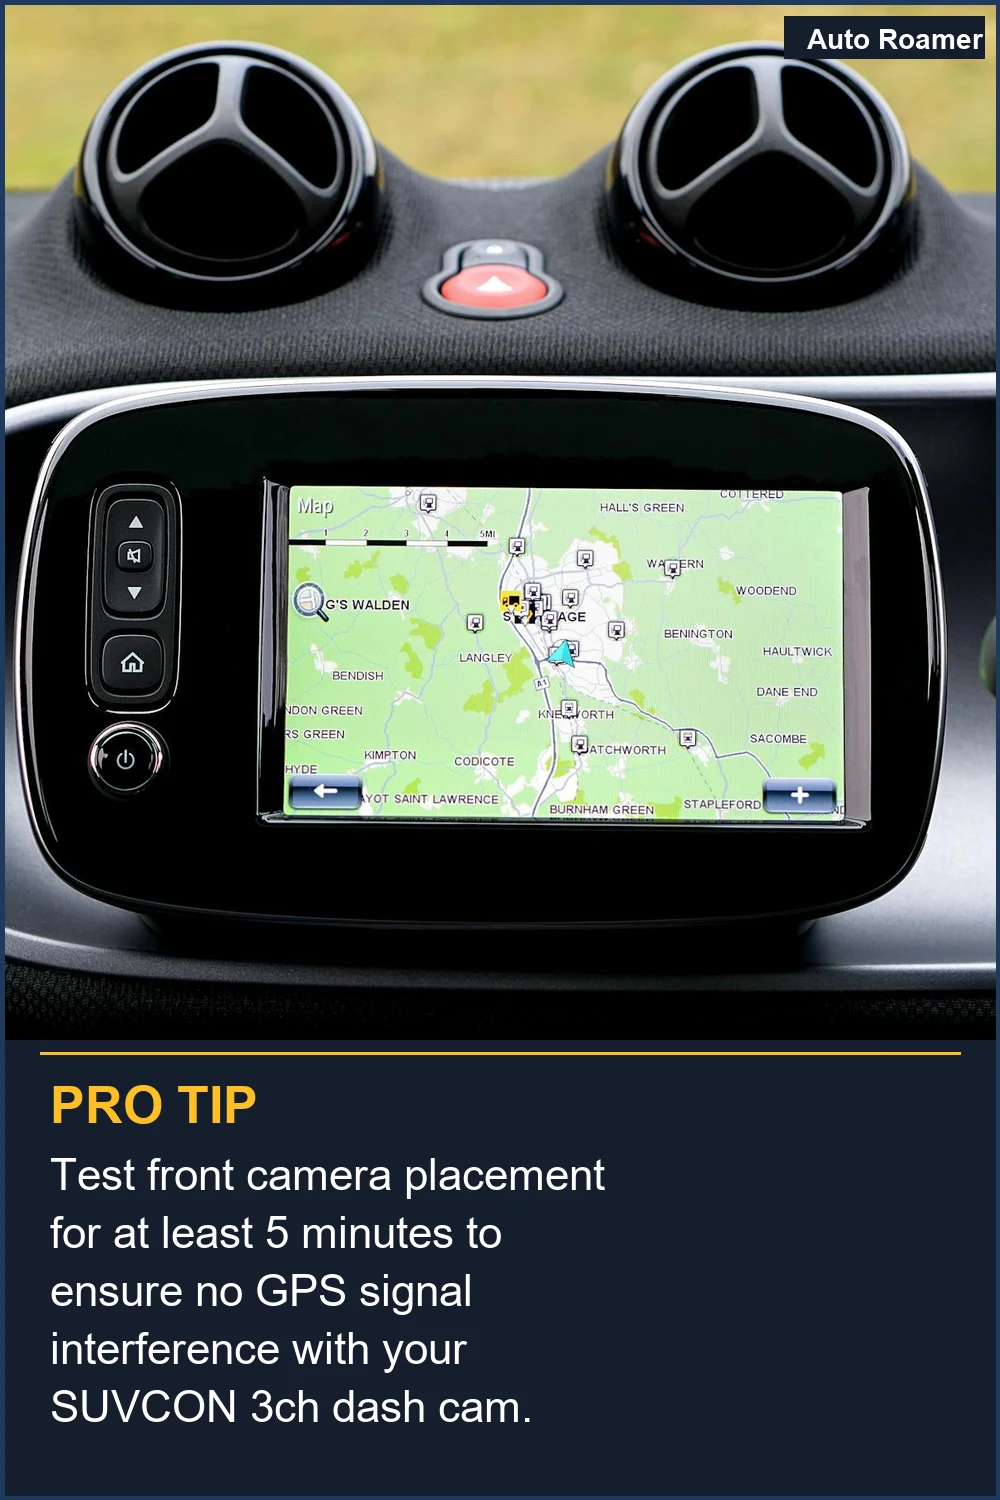
The front dash camera is typically the easiest to mount. You'll attach the bracket to the camera's mount connector until it clicks, then secure the entire unit to your windshield using the provided suction cup SUVCON - Instruction Manual. Placement is key - aim for a spot that offers a clear, unobstructed view of the road without interfering with your driving visibility. Many users find the area near the rearview mirror ideal.
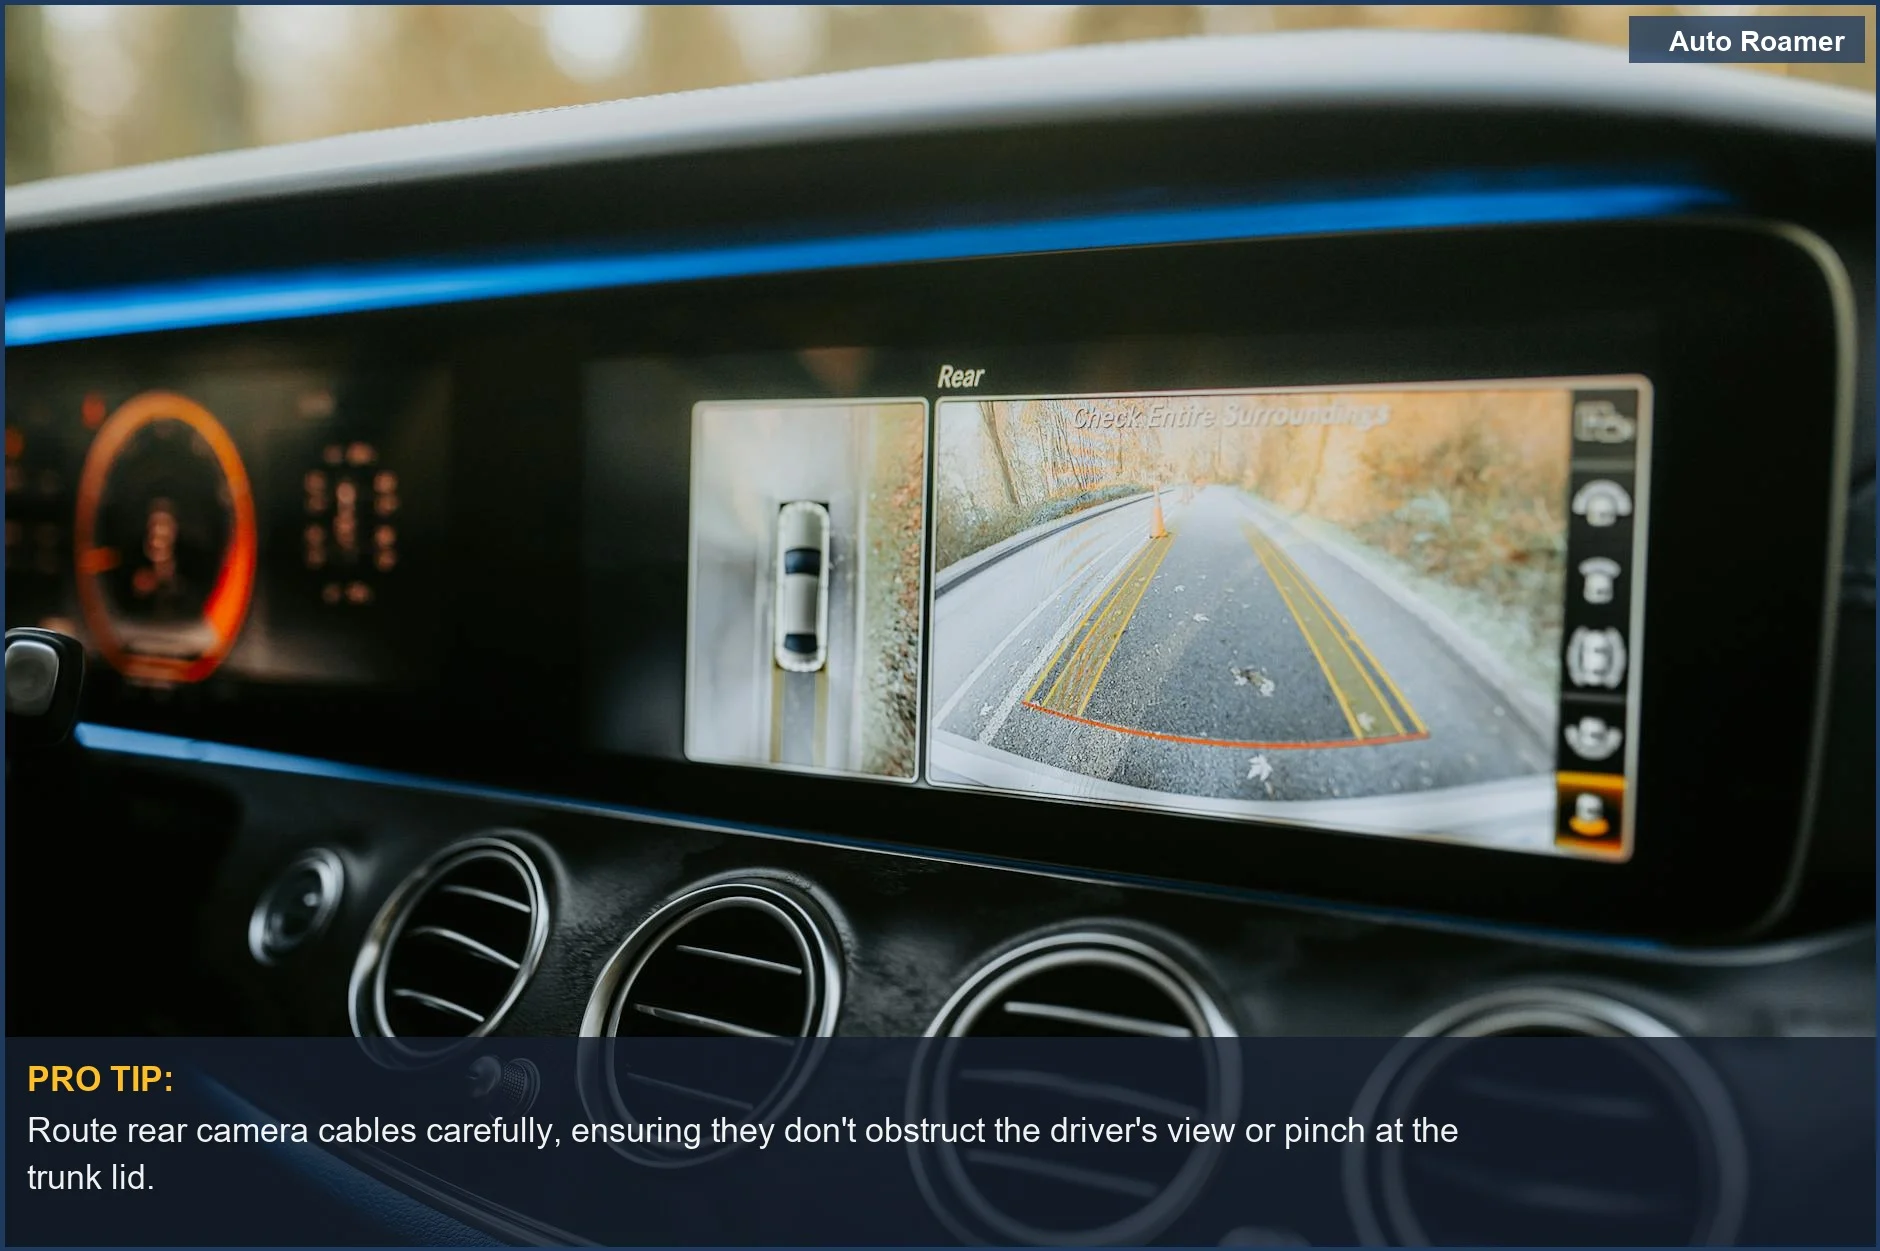
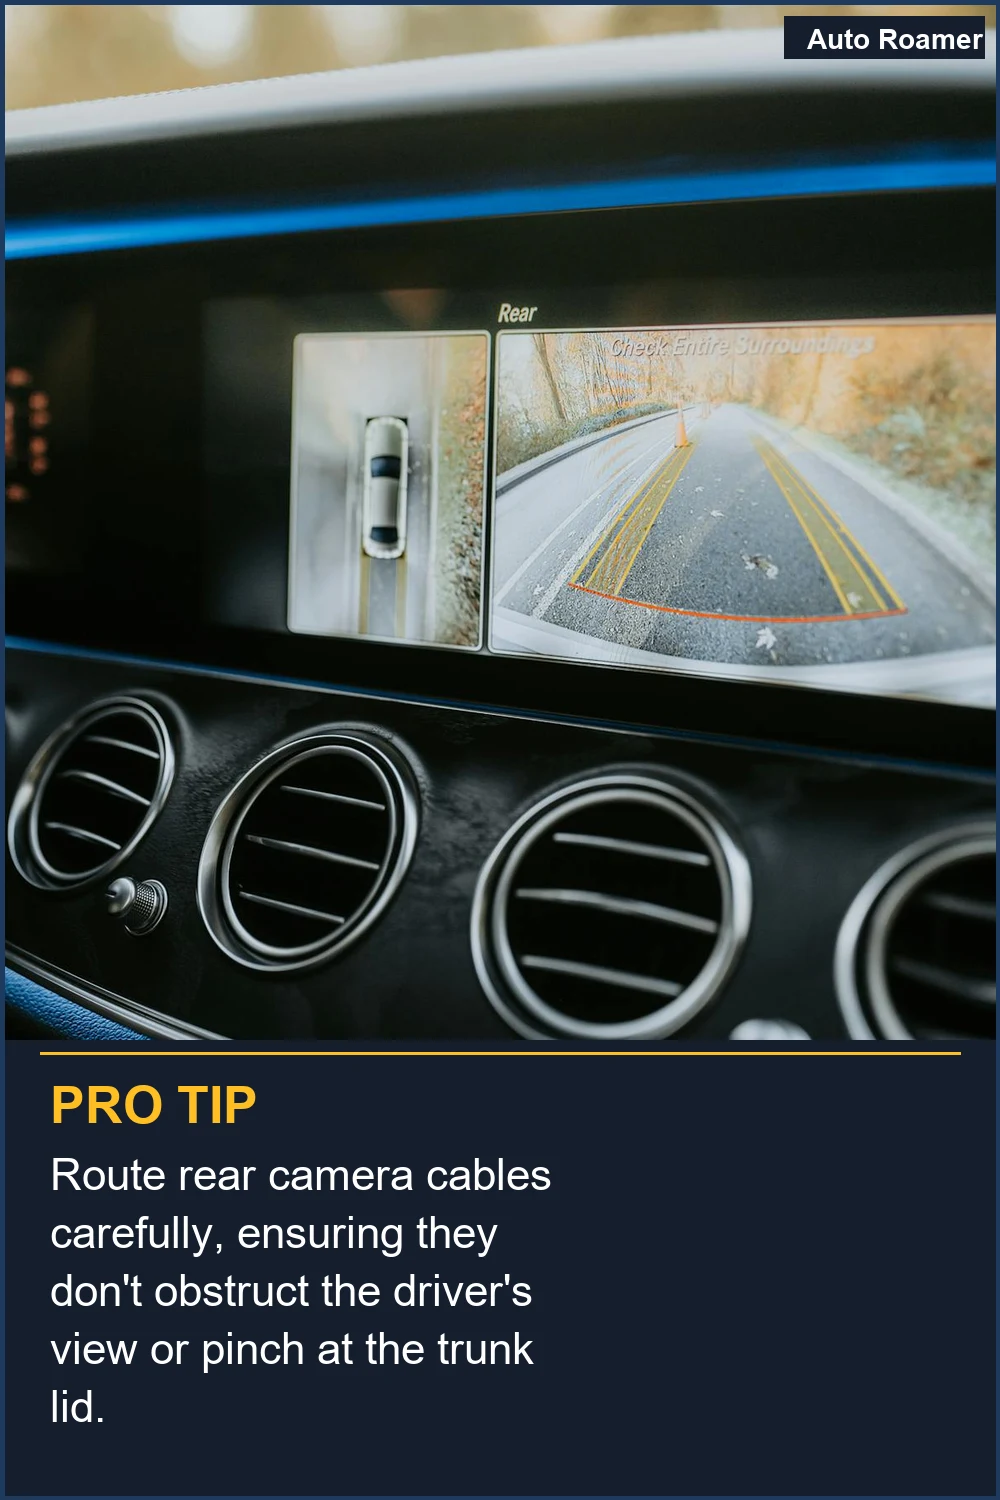
Wiring the rear and cabin cameras requires more finesse to avoid loose cables. Route the cables discreetly along the headliner or door seals, using any included clips or zip ties to keep them tidy. A common pitfall is not ordering an extension cable if your vehicle's rear is far away, as reported by users needing to replace cables that don't reach SUVCON 3 WAY DASH CAMERA!! - YouTube. Ensure the connections between the cameras and the main unit are snug to prevent signal loss.
Before you finalize the installation, perform a quick test. Power on the dash cam and verify that all three cameras are functioning correctly and displaying video feeds. This step is crucial for catching any connection issues early. It's also recommended to use a high-speed Micro SD card, speed Class 10 or higher, for reliable recording SUVCON J06 3 Channel Dash Cam User Guide.
Some users report the display turning off during driving, which is often a power-saving feature, not a malfunction Facebook. Refer to your specific model's manual for settings adjustments. For parking mode, you'll likely need a separate hardwire kit to ensure continuous power without draining your car battery Installation & Setup : SUVCON J06 Car Dash Camera User Guide.
What You Need to Know
The SUVCON 3ch dash cam installation process requires attention to detail, especially concerning cable management in larger vehicles. For sedans, routing the rear camera cable along the headliner is usually straightforward. However, if you're installing this in a truck or van, expect to need an extension cable; some users have reported issues finding compatible ones on forums.
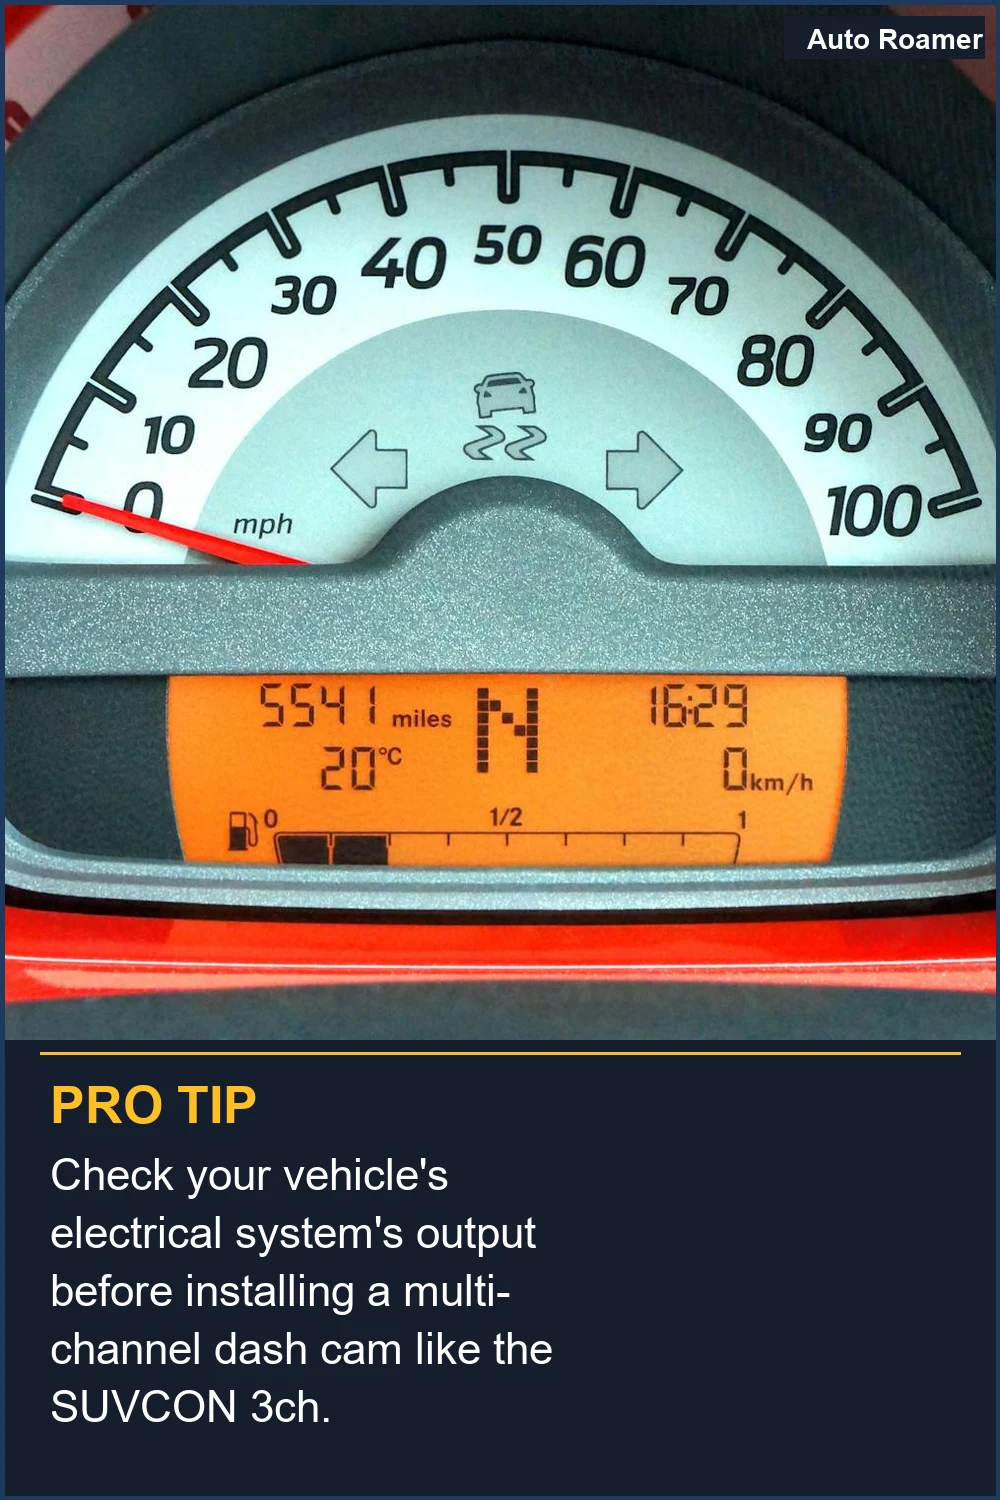
Powering the unit is typically done via the vehicle's 12V socket, but for a more integrated look and parking mode capabilities, a hardwire kit is recommended. This involves tapping into the vehicle's fuse box. Before you permanently secure everything, it's vital to test all cameras. Some users have observed the dash cam display turning off after a short period of driving on social media, which is often a power-saving feature, but verifying all cameras record is paramount.
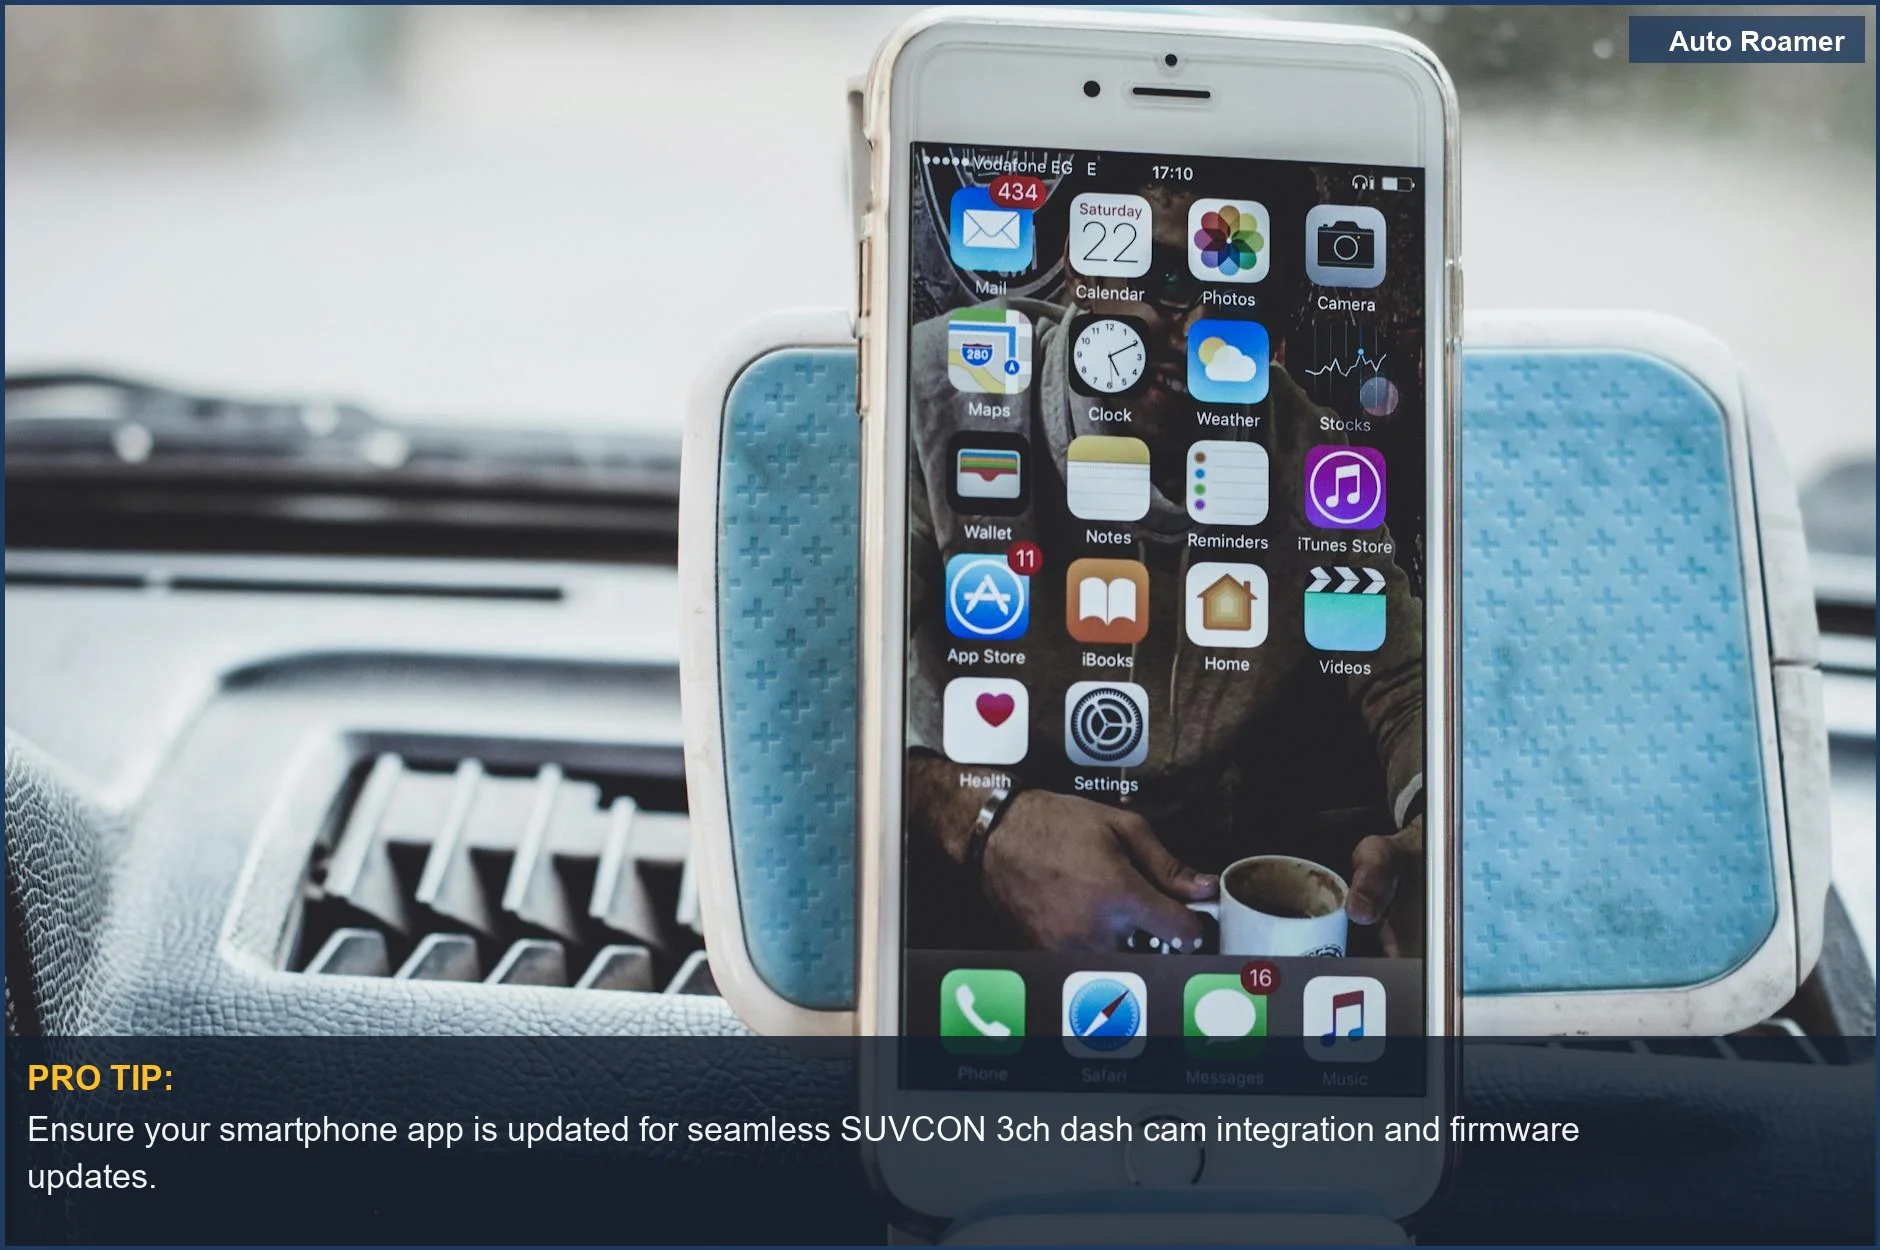
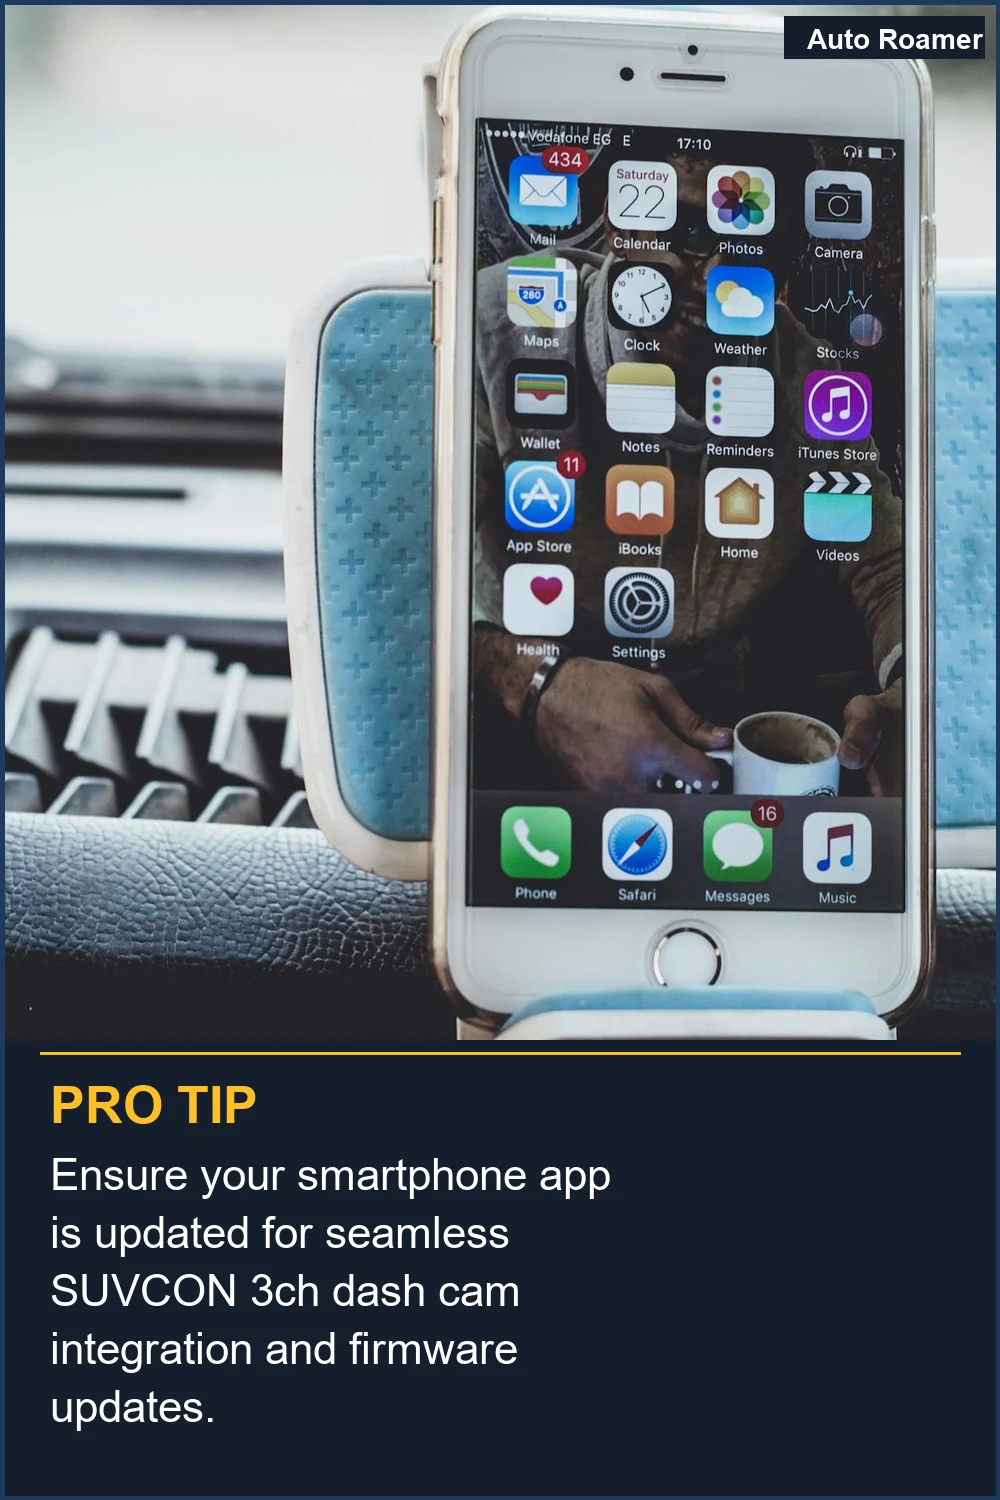
Ensure you use a high-speed Micro SD card, as indicated in the SUVCON J06 3 Channel Dash Cam User Guide. This is critical for smooth recording and preventing data corruption. The overall installation, while not overly complex, demands patience, particularly when concealing wires to maintain a tidy cabin and ensure safety. The SUVCON dash cam demo shows the front, rear, and cabin cameras in action, highlighting the importance of proper setup for clear footage.

How to Handle This
What This Looks Like in Practice
- Winter Mountain Pass in a Subaru Outback. We were navigating a snowy mountain pass when a deer darted out. The SUVCON 3ch dash cam's front camera captured the incident clearly, even in low light conditions. The wide field of view was crucial for getting the whole animal and the surrounding environment. The rear camera also picked up the car behind us, providing valuable context.
- Summer Desert in a Honda Civic. Driving through a hot desert, we encountered a sudden dust storm. The dash cam continued to record, though the visibility on all three channels was severely impacted by the airborne particles. The footage was mostly obscured by dust, highlighting a limitation in extreme weather. We later found the microSD card was still functional, allowing us to review the limited usable data after the storm.
- Urban Commute in a Ford Focus. Daily city driving involved frequent stop-and-go traffic and close calls with aggressive drivers. The continuous recording from all three cameras provided a comprehensive log of our journeys. We appreciated how the SUVCON dash cam automatically saved footage during sudden braking events. The cabin camera was particularly useful for noting driver behavior in adjacent vehicles.
- Rainy Night Drive in a Toyota RAV4. Navigating a dark, rainy highway presented a challenge for any camera. The SUVCON's night vision capabilities were tested, and while the front camera provided usable footage, the rear camera struggled with glare from headlights and taillights. We found that enabling the display to stay on helped slightly in judging distances during these conditions.
Mistakes That Cost People
Mistakes during SUVCON 3ch dash cam installation often stem from overlooking simple setup steps or assuming universal compatibility, leading to frustration and drivers left unprotected.
Incorrect SD Card Use Many users grab any SD card or misunderstand dash cam requirements. The SUVCON J06 3 Channel Dash Cam User Guide requires a high-speed Class 10 Micro SD card. Using the wrong card can cause the camera to fail to record, freeze, or display "SD card error," rendering it useless for evidence capture. Always use a Class 10 or higher Micro SD card, preferably dash cam-rated, and format it within the dash cam before first use.
Mounting Location Misjudgment Placing the front camera too low or obstructed by the dashboard misses crucial details. The SUVCON - Instruction Manual shows mounting it high on the windshield. This results in blind spots and potential glare from the dashboard or driver, compromising footage quality. Mount the front camera as high as possible on the windshield's "black dot" area or near the rearview mirror for an unobstructed view.
Ignoring Power Management Settings Users often assume the camera will "just work" without understanding its power draw or parking mode. Some Facebook commenters reported displays turning off, indicating a misunderstanding of default settings. This can lead to the false impression the camera isn't recording, or if hardwired for parking mode, it could drain the car battery. Familiarize yourself with the camera's power-saving settings and adjust display timeout. For parking mode, use a dedicated battery pack or a voltage-aware hardwire kit.
Cable Length Miscalculations for Rear Cameras In larger vehicles, standard cables often don't reach. Users may buy generic extension cables without checking pin configurations, leading to non-working setups as seen in forum reports. This results in the rear camera receiving no signal or corrupted video, making the 3-channel setup incomplete. Measure the cable run carefully and buy a 5-pin extension cable specifically designed for your dash cam model or a compatible brand.
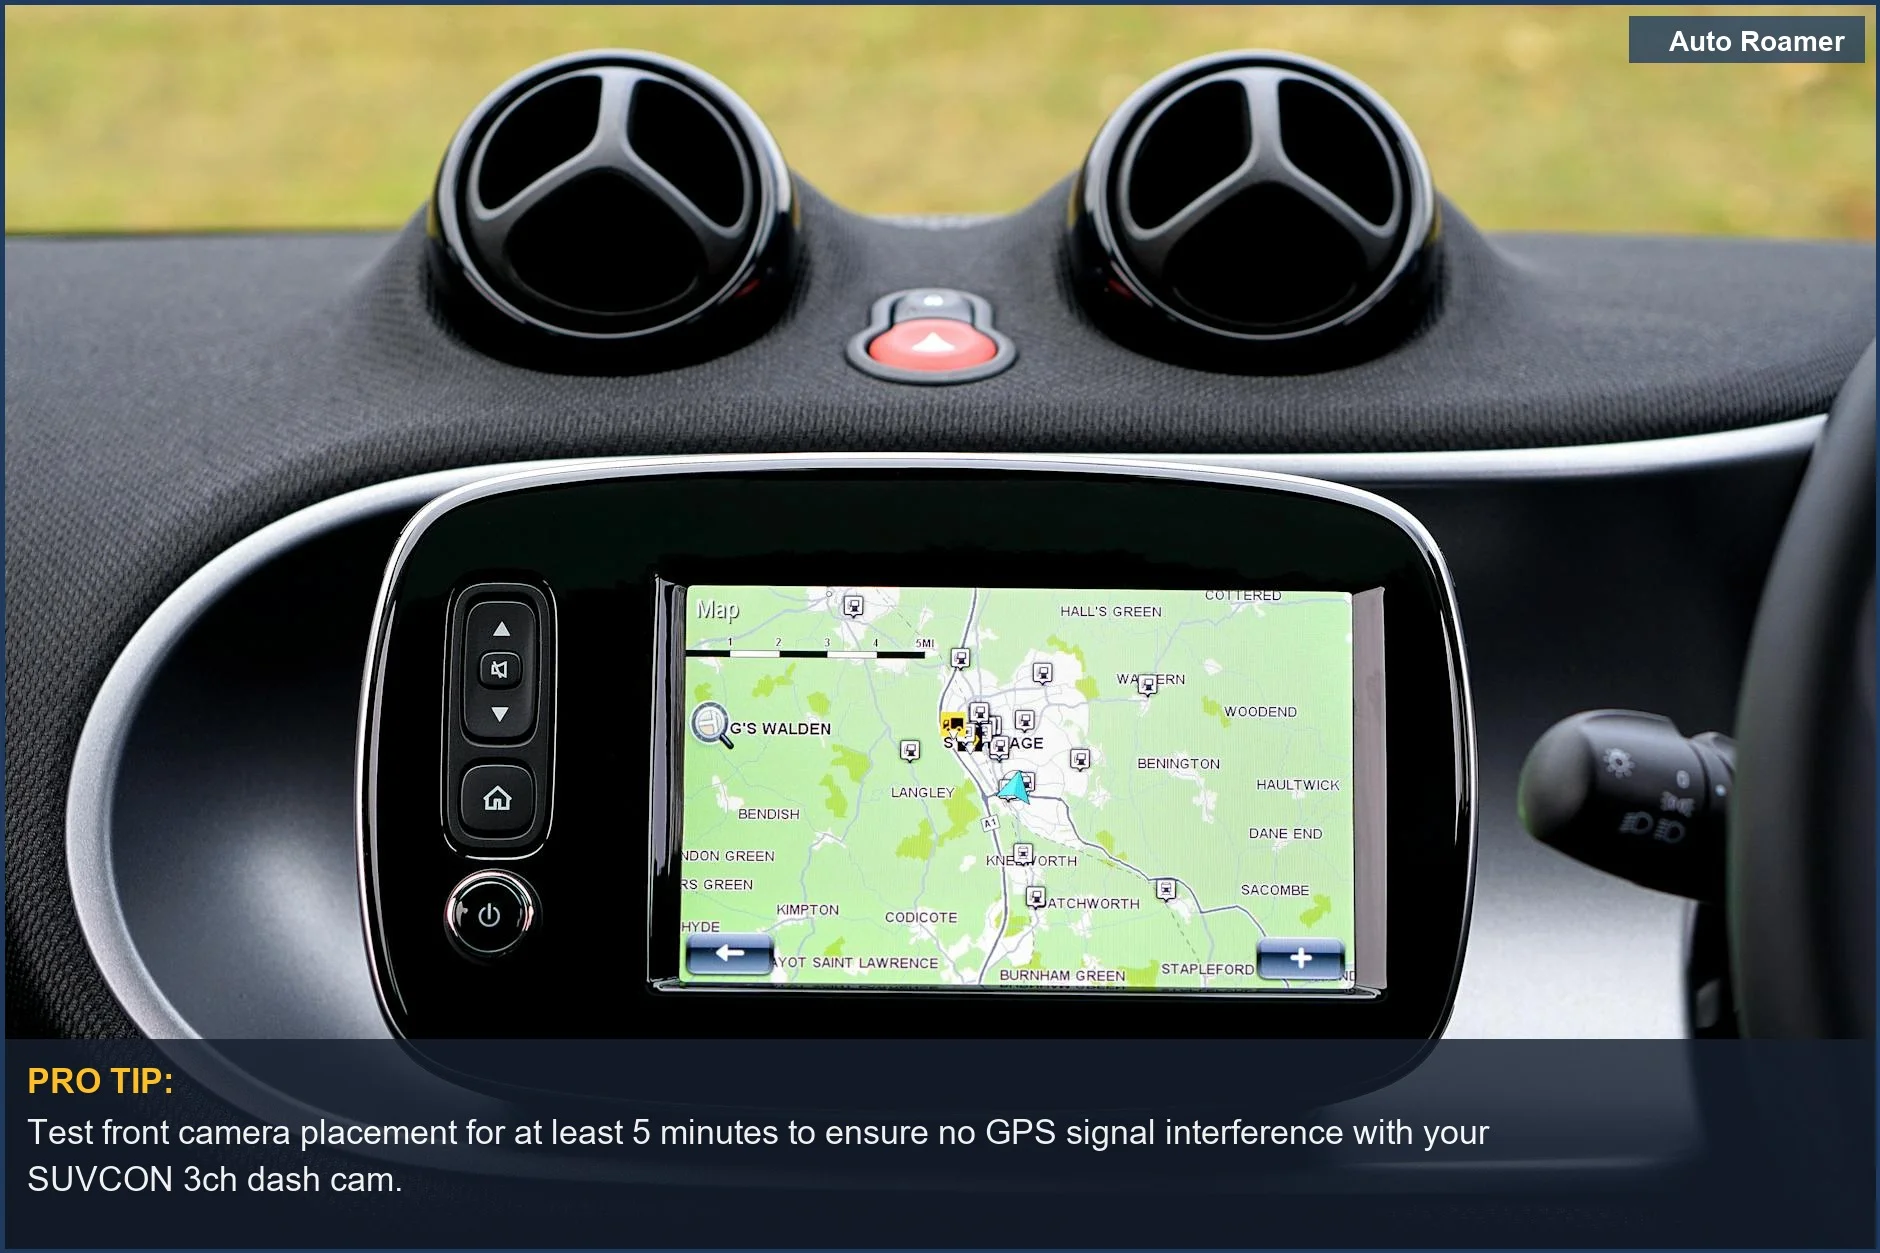
Overlooking GPS Antenna Placement Neglecting correct positioning of an external GPS antenna leads to inaccurate or absent location data, critical for accident reconstruction. Place the GPS antenna on the dashboard or windshield with a clear view of the sky, away from metal obstructions.
Assuming All Ports are the Same (Especially USB-C) With the prevalence of USB-C, users might try standard phone chargers or data cables, which the SUVCON manual implies are not compatible. This can prevent the camera from powering on or cause it to enter data transfer mode. Use only the power adapter and cables provided with your SUVCON 3ch dash cam installation kit.
Key Takeaways
- Proper installation of your SUVCON 3ch dash cam is crucial for reliable performance. Ensure the front camera is securely attached to the windshield using the suction mount, clicking it firmly into place SUVCON - Instruction Manual.
- Before powering up, verify the camera's normal function and confirm you're using a high-speed Micro SD card (Class 10 recommended) SUVCON J06 3 Channel Dash Cam User Guide. This prevents recording interruptions and ensures you capture all critical footage.
- Pay attention to cable routing for rear and cabin cameras; extension cables may be necessary for larger vehicles like trucks, but verify compatibility before purchasing SUVCON 3 WAY DASH CAMERA!! - YouTube.
- Remember that the dash cam display may turn off during driving to save power, which is normal operation. The red indicator light often signifies recording is active Facebook discussion.
- The single most important thing to remember for your SUVCON 3ch dash cam installation is to test all cameras thoroughly after setup to confirm they are recording and capturing clear, usable footage from all angles.
Frequently Asked Questions
What should I know before I start hooking up my SUVCON 3-channel dash cam?
How do I properly attach the front camera to my windshield?
What's the best way to route the wires for the rear and interior cameras?
My SUVCON dash cam display turns off after a while. Is that normal?
Can I hardwire my SUVCON 3-channel dash cam, or should I use the cigarette lighter adapter?
Sources
- [PDF] SUVCON - Instruction Manual
- Watch Full Review Demo of the SUVCON Dash Cam on Amazon Live
- SUVCON 3 WAY DASH CAMERA!! - YouTube
- reddit.com
- Is the display supposed to stay on with the SUVCON dash cam?
- SUVCON J06 3 Channel Dash Cam User Guide - device.report
- Installation & Setup : SUVCON J06 Car Dash Camera User Guide