How to Detail Your Car Interior at Home: The Full Process for $20
Auto Roamer
12 min read
Includes Video
Detail car interior at home effectively with our DIY guide. We'll show you how to clean car seats and tackle everything from dust to stubborn stains, all without professional tools. Follow our top-down, dry-before-wet strategy and finish with protection for a like-new interior.
The road trip is over, but the evidence remains: a fine layer of dust coating every surface, crumbs clinging to the seats, and that lingering, unidentifiable stain on the passenger floor mat. You glance at the clock - a full professional interior detail would cost upwards of $200 and eat up half your day. But what if you could achieve that same showroom-fresh result yourself, in about two hours, for less than $20? We've spent countless miles with our interiors turning into mobile disaster zones, and we've figured out how to detail your car interior at home without needing a professional arsenal. This isn't about vague advice; it's about getting your car back to a state you can be proud of, using methods that actually work on everything from dog hair to spilled coffee Malco Automotive. You don't need fancy equipment; just a willingness to get your hands dirty and follow a proven process Complete Interior Car Detailing Guide for Beginners! - YouTube.
Key specifications for Complete DIY car interior detailing without professional tools
The Short Answer
The mental model for a truly effective DIY car interior detailing is simple: work top-down, dry-before-wet, and always finish with protection. This sequence ensures you're not re-contaminating cleaned areas, and crucially, that your hard work lasts.
Most DIYers stop after cleaning, which is why their efforts only last a week. The protection step is the differentiator between a quick clean and a lasting detail. Professionals and seasoned enthusiasts know that applying UV protectants to dashboards and plastics, fabric guards to cloth seats, and conditioners to leather locks in your clean and prevents premature wear and tear.
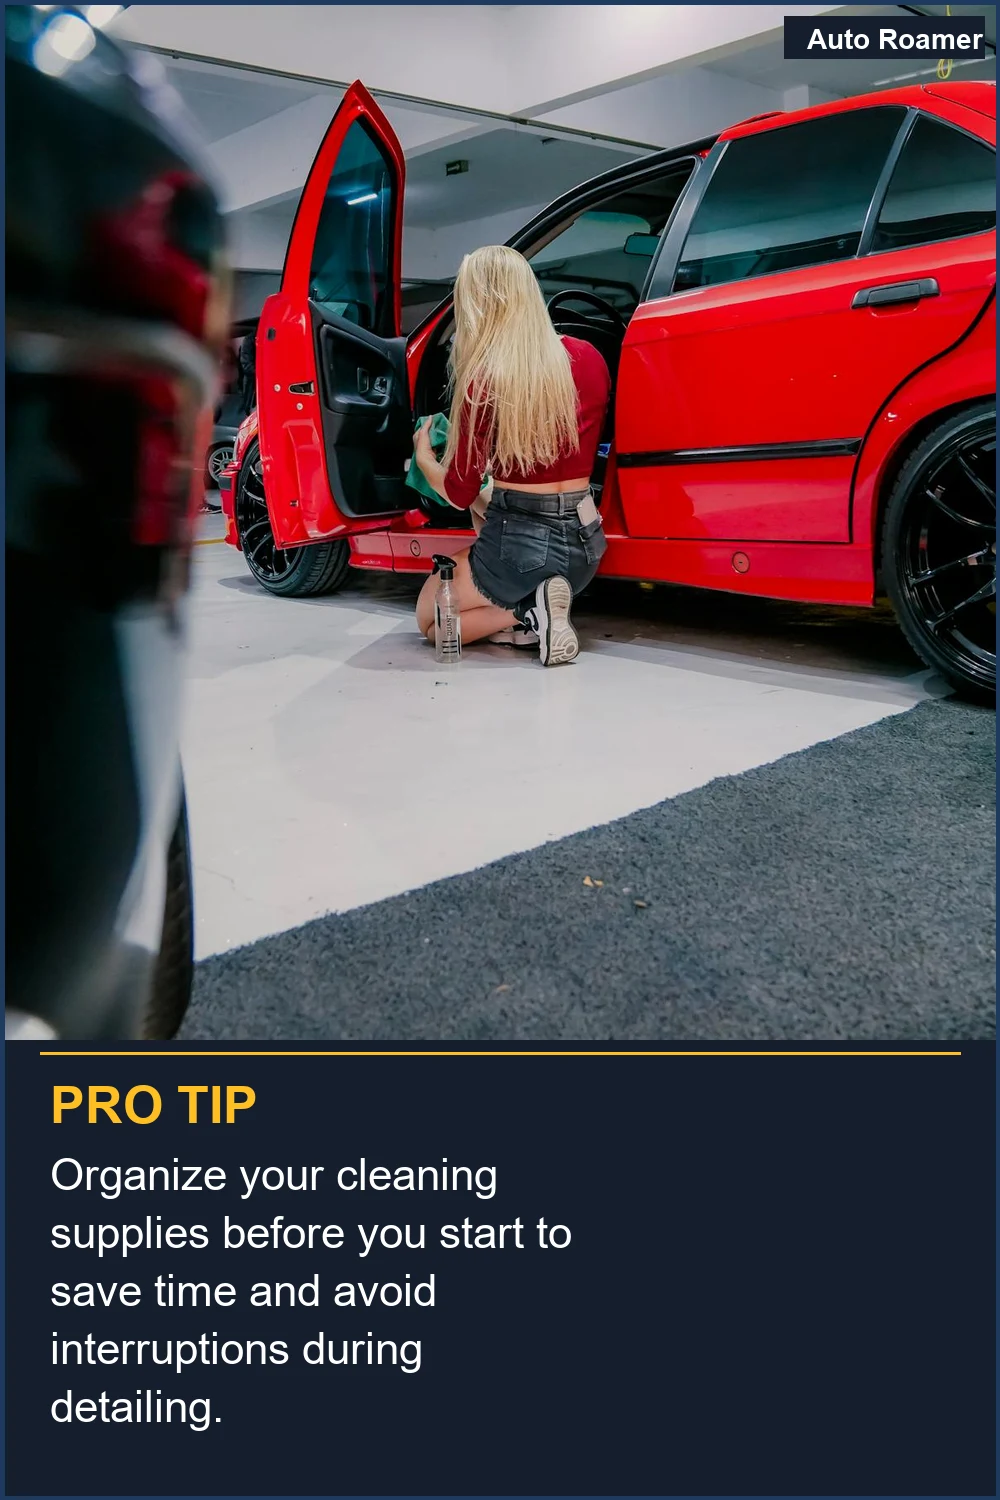
The order of operations is critical for efficiency and effectiveness. Always start by removing all loose items and trash, then vacuum thoroughly from the headliner down to the floor mats. This dry removal of debris is paramount before introducing any cleaning solutions. A thorough vacuuming, including crevices with a dedicated attachment, sets the stage for surface cleaning Car Interior Detailing Procedure: Professional Step-by-Step Guide.
Once vacuumed, tackle hard surfaces like the dashboard, console, and door panels with an appropriate cleaner and microfiber towels. For seats, the method depends on the material: use a carpet cleaner and brush for cloth, and dedicated leather cleaner followed by conditioner for leather Interior Car Cleaning The Ultimate Guide - Car Detailing Products. Glass should be cleaned last to avoid overspray from other products, using an ammonia-free cleaner if you have tinted windows.
Finally, the protection phase. Apply a UV protectant to all hard surfaces to prevent sun damage and fading. Treat cloth seats with a fabric guard to repel future spills and stains. Leather seats should receive a good conditioner to keep them supple and prevent cracking. This commitment to protection is what transforms a simple clean into a professional-level DIY car interior cleaning that endures.
To prevent future messes, understanding why backseat car messes can become permanent is crucial.
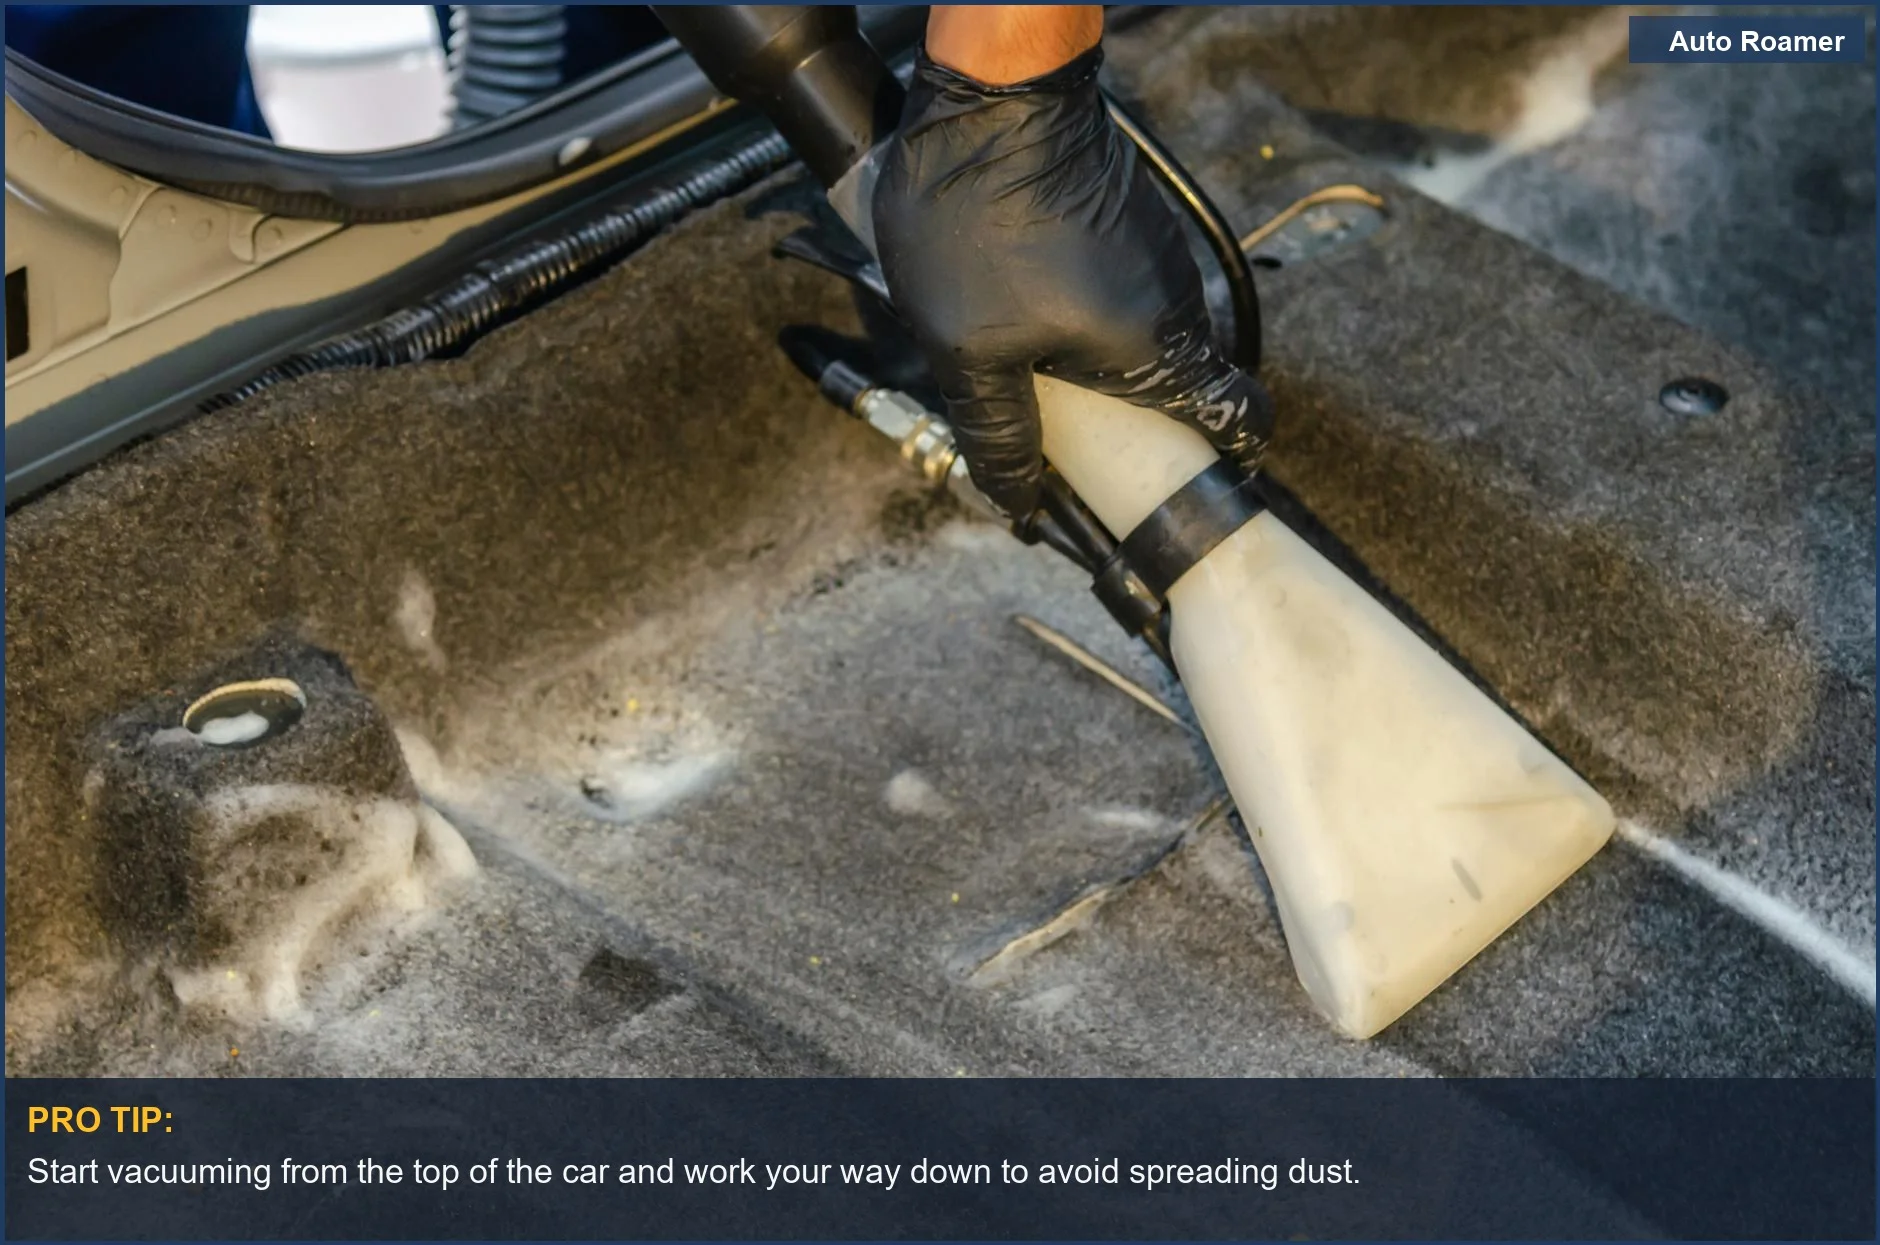
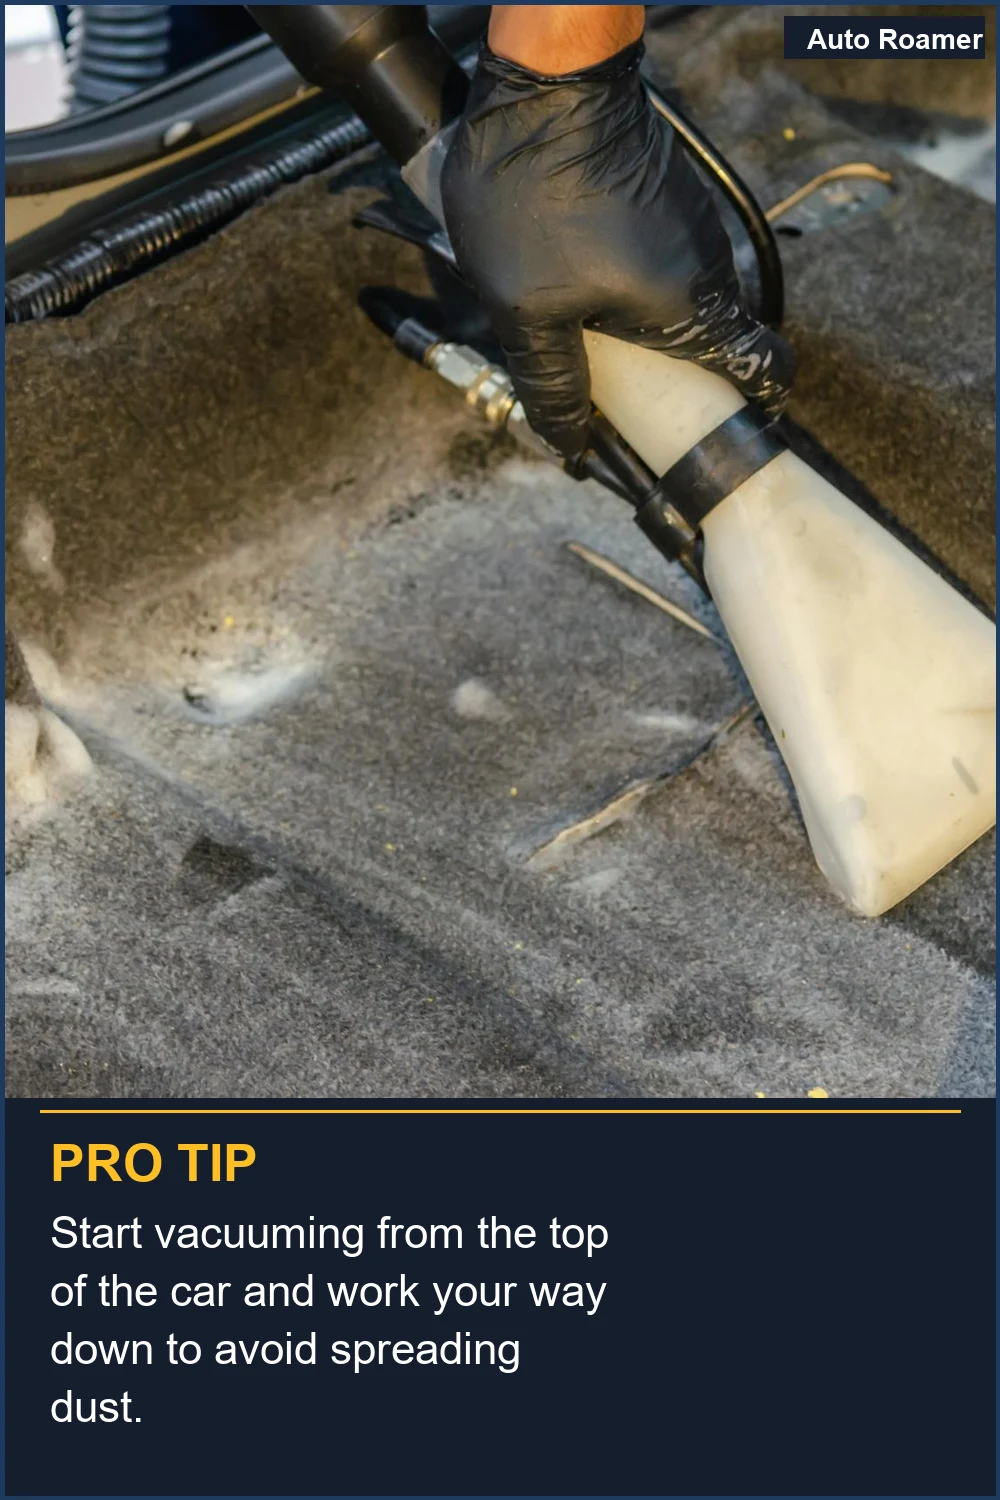
Effectively detail car interior at home by starting with a thorough vacuum to lift embedded dirt and debris from carpets and floor mats.
| Photo by Khunkorn Laowisit
Effectively detail car interior at home by starting with a thorough vacuum to lift embedded dirt and debris from carpets and floor mats.
| Photo by Khunkorn Laowisit
What You Need to Know
1
Clear the clutter - Before you even think about cleaning, remove everything. This includes trash, personal items, and floor mats. For SUVs and vans, this step is even more critical due to the larger interior space. Shake out mats thoroughly. As Detail King suggests, it's efficient to remove all obstacles first to avoid working around them.
2
Vacuum thoroughly - Use your vacuum's crevice tool to get into seams, under seats, and around the center console. For cloth seats, a stiff brush can help agitate dirt and pet hair, making it easier for the vacuum to pick up. This is where your two essential tools, a stiff brush and microfiber cloths, start to shine. For trucks and larger SUVs, this step can take longer but is crucial for a deep clean. Forums like Auto Geek Online emphasize vacuuming while agitating with a brush for best results.
3
Address different materials -
Cloth Seats: Use a dedicated carpet and upholstery cleaner. Lightly mist the cleaner onto a section, agitate with your stiff brush, and then wipe clean with a damp microfiber cloth. Avoid oversaturating, as this can lead to mold and mildew, especially in humid climates.
Leather Seats: Use a specialized leather cleaner. Apply it to a microfiber cloth, not directly to the seat, and wipe down the leather. Follow up with a leather conditioner to keep it supple and prevent cracking. Never use household cleaners like dish soap, as they strip natural oils, leading to premature aging.
Vinyl and Plastic Surfaces (Dash, Doors, Console): An all-purpose interior cleaner or a specific vinyl cleaner works well. Spray onto a microfiber cloth and wipe down surfaces. Pay attention to buttons and vents where dust accumulates. For stubborn grime in vents or tight spots, a toothbrush or a small detailing brush is invaluable.
It's critical to use products designed for automotive interiors, as household cleaners can cause damage. For example, ammonia in some household glass cleaners can harm window tint adhesive, according to Malco Automotive.
4
Steam cleaning for sanitization - While not strictly a "household" item, a small, portable steam cleaner is a secret weapon for interior detailing and can often be found affordably. Steam kills bacteria and sanitizes surfaces without harsh chemicals, making it ideal for killing odors and germs, especially in humid environments or if you transport pets or children. This is a fantastic method for tackling tough stains and deep-cleaning fabric surfaces.
5
Glass and protection - Clean interior glass with an ammonia-free glass cleaner and a separate clean microfiber cloth. Don't forget the inside of the windshield and mirrors. After cleaning all surfaces, apply a UV protectant to the dashboard and plastic trim to prevent fading and cracking from sun exposure. This step is often skipped but is vital for long-term preservation, as noted by Auto Finesse. For cloth seats, a fabric protectant can help repel future spills.
Once you've tackled the windshield, consider addressing any minor imperfections with our tips on removing small dents.
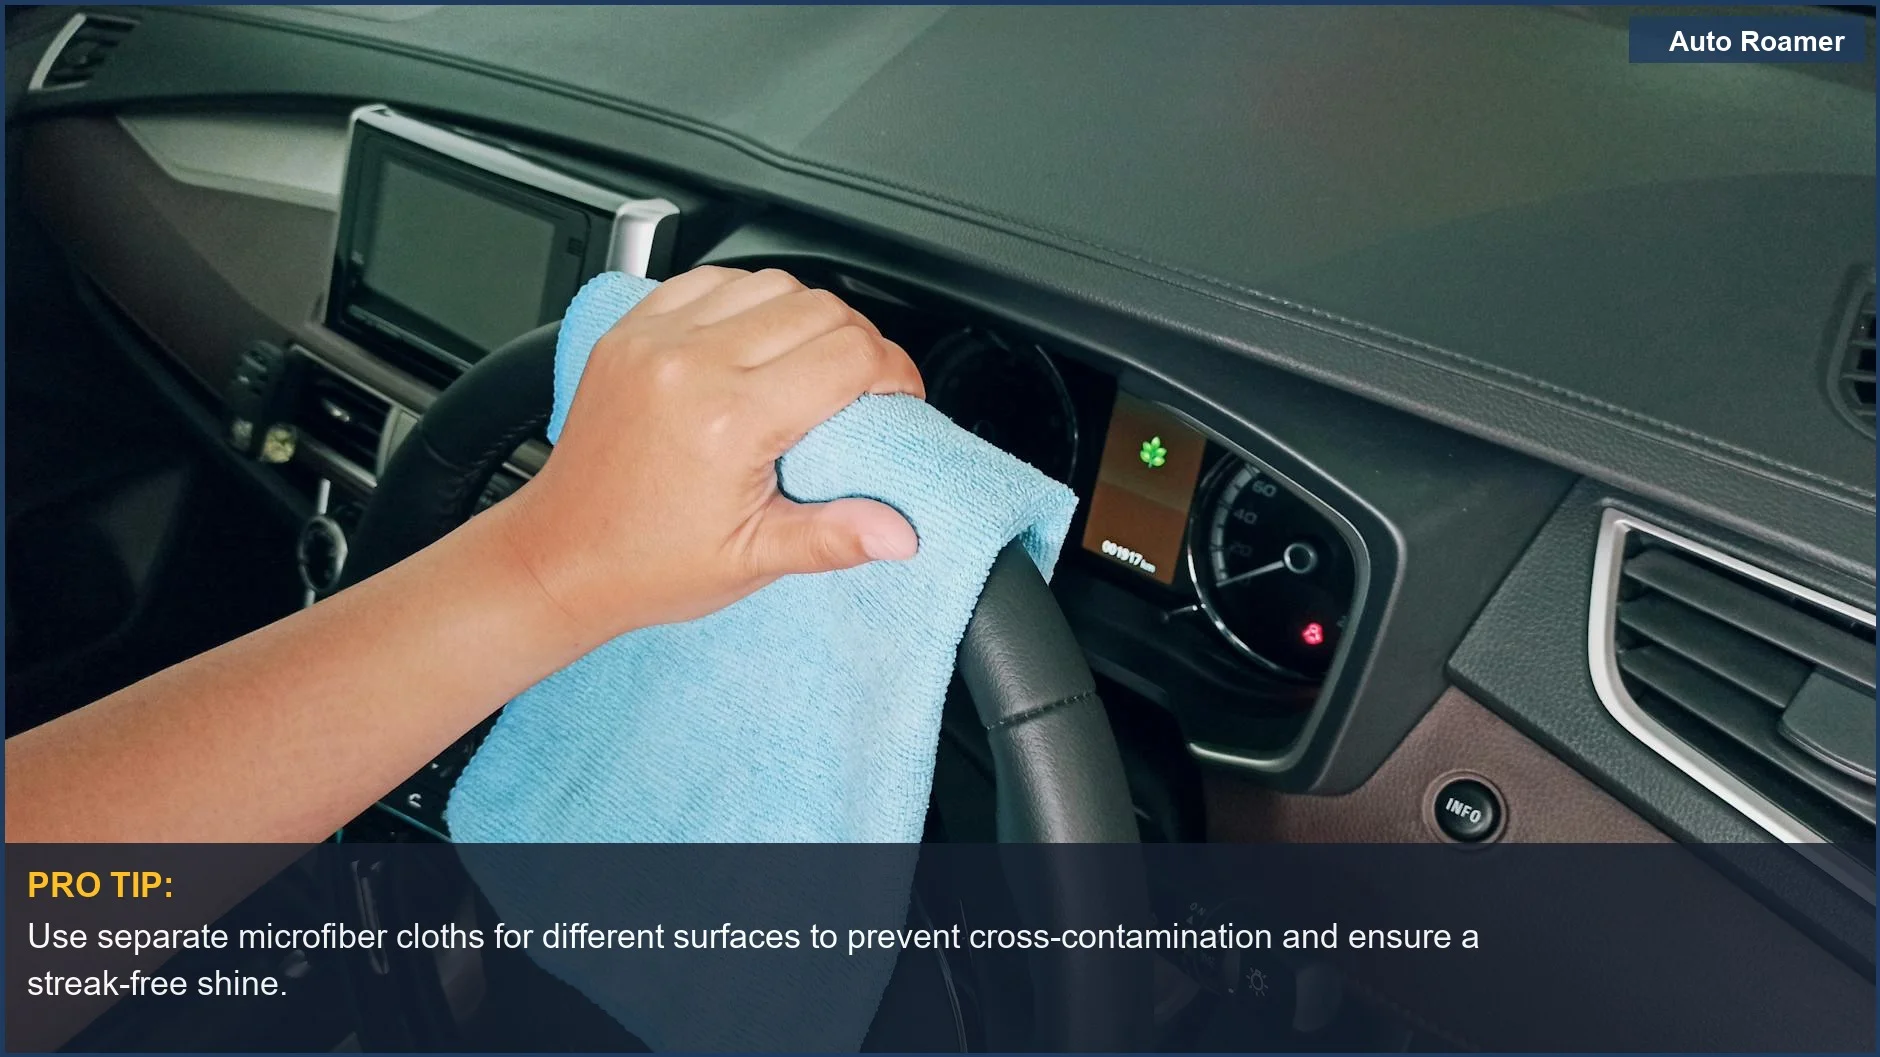
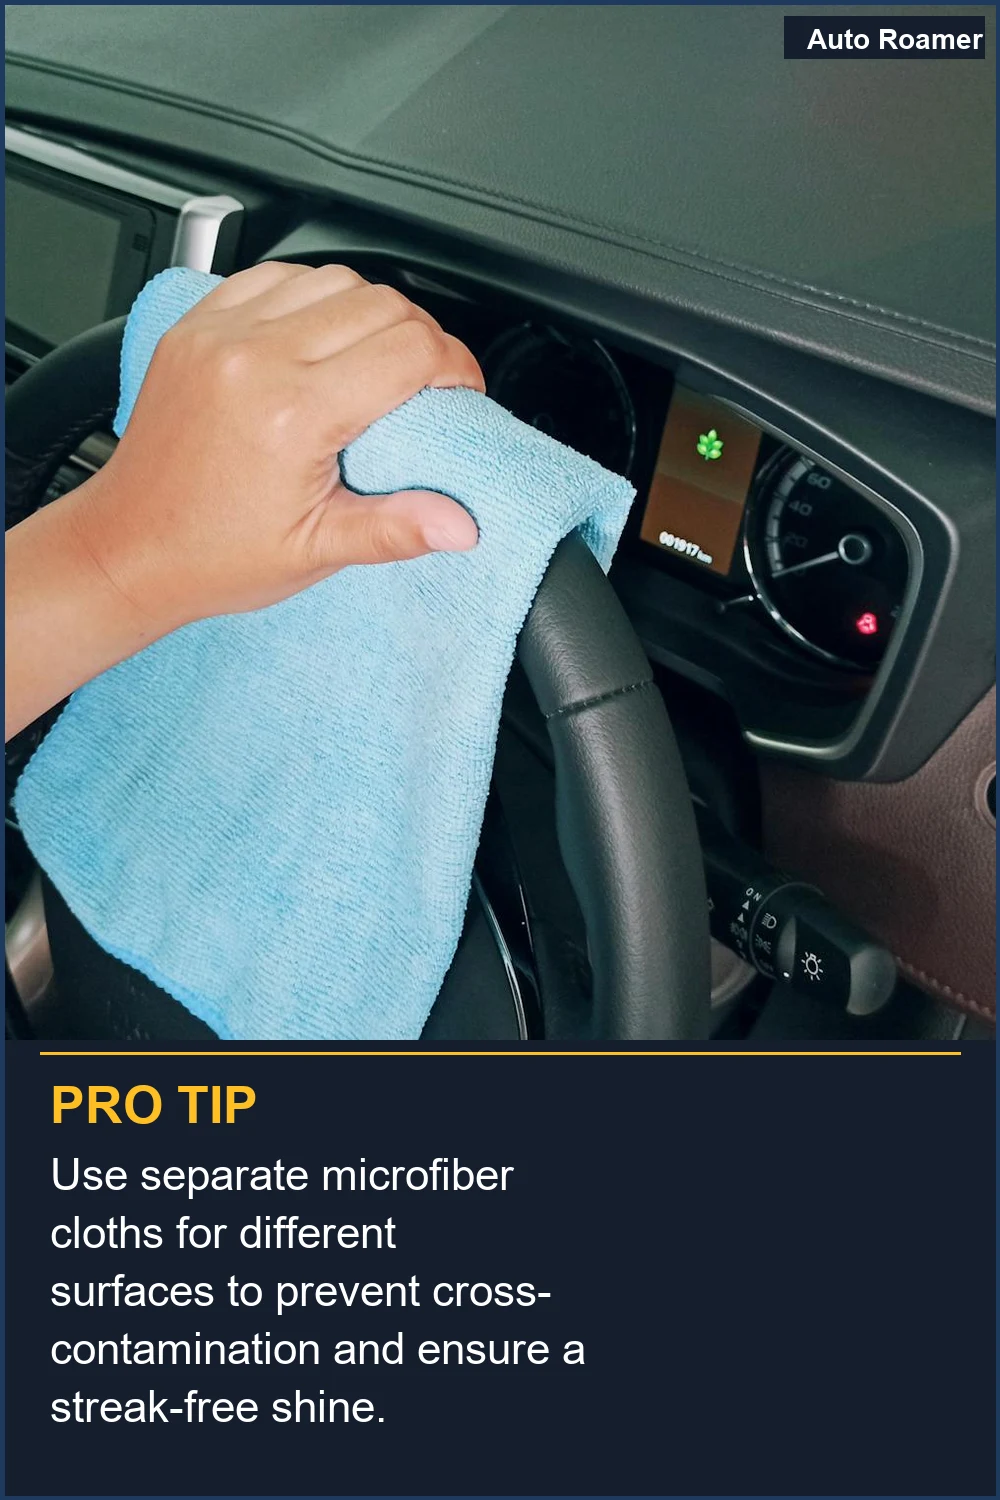
Achieve a spotless car interior by diligently wiping down high-touch areas like the steering wheel with a clean microfiber cloth.
| Photo by Ariyo
Achieve a spotless car interior by diligently wiping down high-touch areas like the steering wheel with a clean microfiber cloth.
| Photo by Ariyo
How to Handle This
1
Clear Out Everything. Pull out all trash, loose items, and floor mats. Shake mats vigorously, ideally outside on a windy day, to dislodge dirt and debris. Skipping this means vacuuming around obstacles, making the job harder and less thorough. We've had to excavate cars packed with gear just to reach the seats. Car Interior Detailing Procedure: Professional Step-by-Step Guide
2
Thorough Vacuuming. Use your vacuum's crevice tool on seams, under seats, and around the center console, including the trunk. This is where grime hides. A stiff brush before vacuuming loosens stubborn dirt, especially in older cars with ingrained floor mats. Interior Car Cleaning The Ultimate Guide - Car Detailing Products
3
Wipe Down Hard Surfaces. Spray all-purpose cleaner onto a microfiber cloth and wipe the dashboard, center console, door panels, and steering wheel. Focus on high-touch areas like door handles and buttons. We've used a homemade cleaner of 1 cup warm water, ½ cup vinegar, and ½ tablespoon dish soap with success on most surfaces. Best Homemade Car Interior Cleaner For Ogden Drivers
4
Address the Seats. For cloth seats, use carpet cleaner and a stiff brush for stains and dirt. For leather, use a leather cleaner followed by a conditioner. Harsh household cleaners can strip leather's natural oils, causing long-term damage. How to Detail a Car Interior: A Step-by-Step Guide - Malco Automotive
5
Clean All Glass Surfaces. Use an ammonia-free automotive glass cleaner and a clean microfiber cloth on all windows, inside and out. Streaky windows distract and can make night driving dangerous. Ammonia-based cleaners can damage window tint adhesive. Complete Interior Car Detailing Guide for Beginners! - YouTube
6
Apply Protectants. Apply UV protectant to the dashboard and plastics, fabric guard to cloth seats, and conditioner to leather. Without protection, surfaces fade, crack, or stain again quickly. We've seen dashboards crack within a year from sun exposure due to this overlooked step.
Learn how to detail your car interior at home by tackling one section at a time, ensuring thoroughness like cleaning this red BMW.
| Photo by Caio Renato de Campos
Learn how to detail your car interior at home by tackling one section at a time, ensuring thoroughness like cleaning this red BMW.
| Photo by Caio Renato de Campos
What This Looks Like in Practice
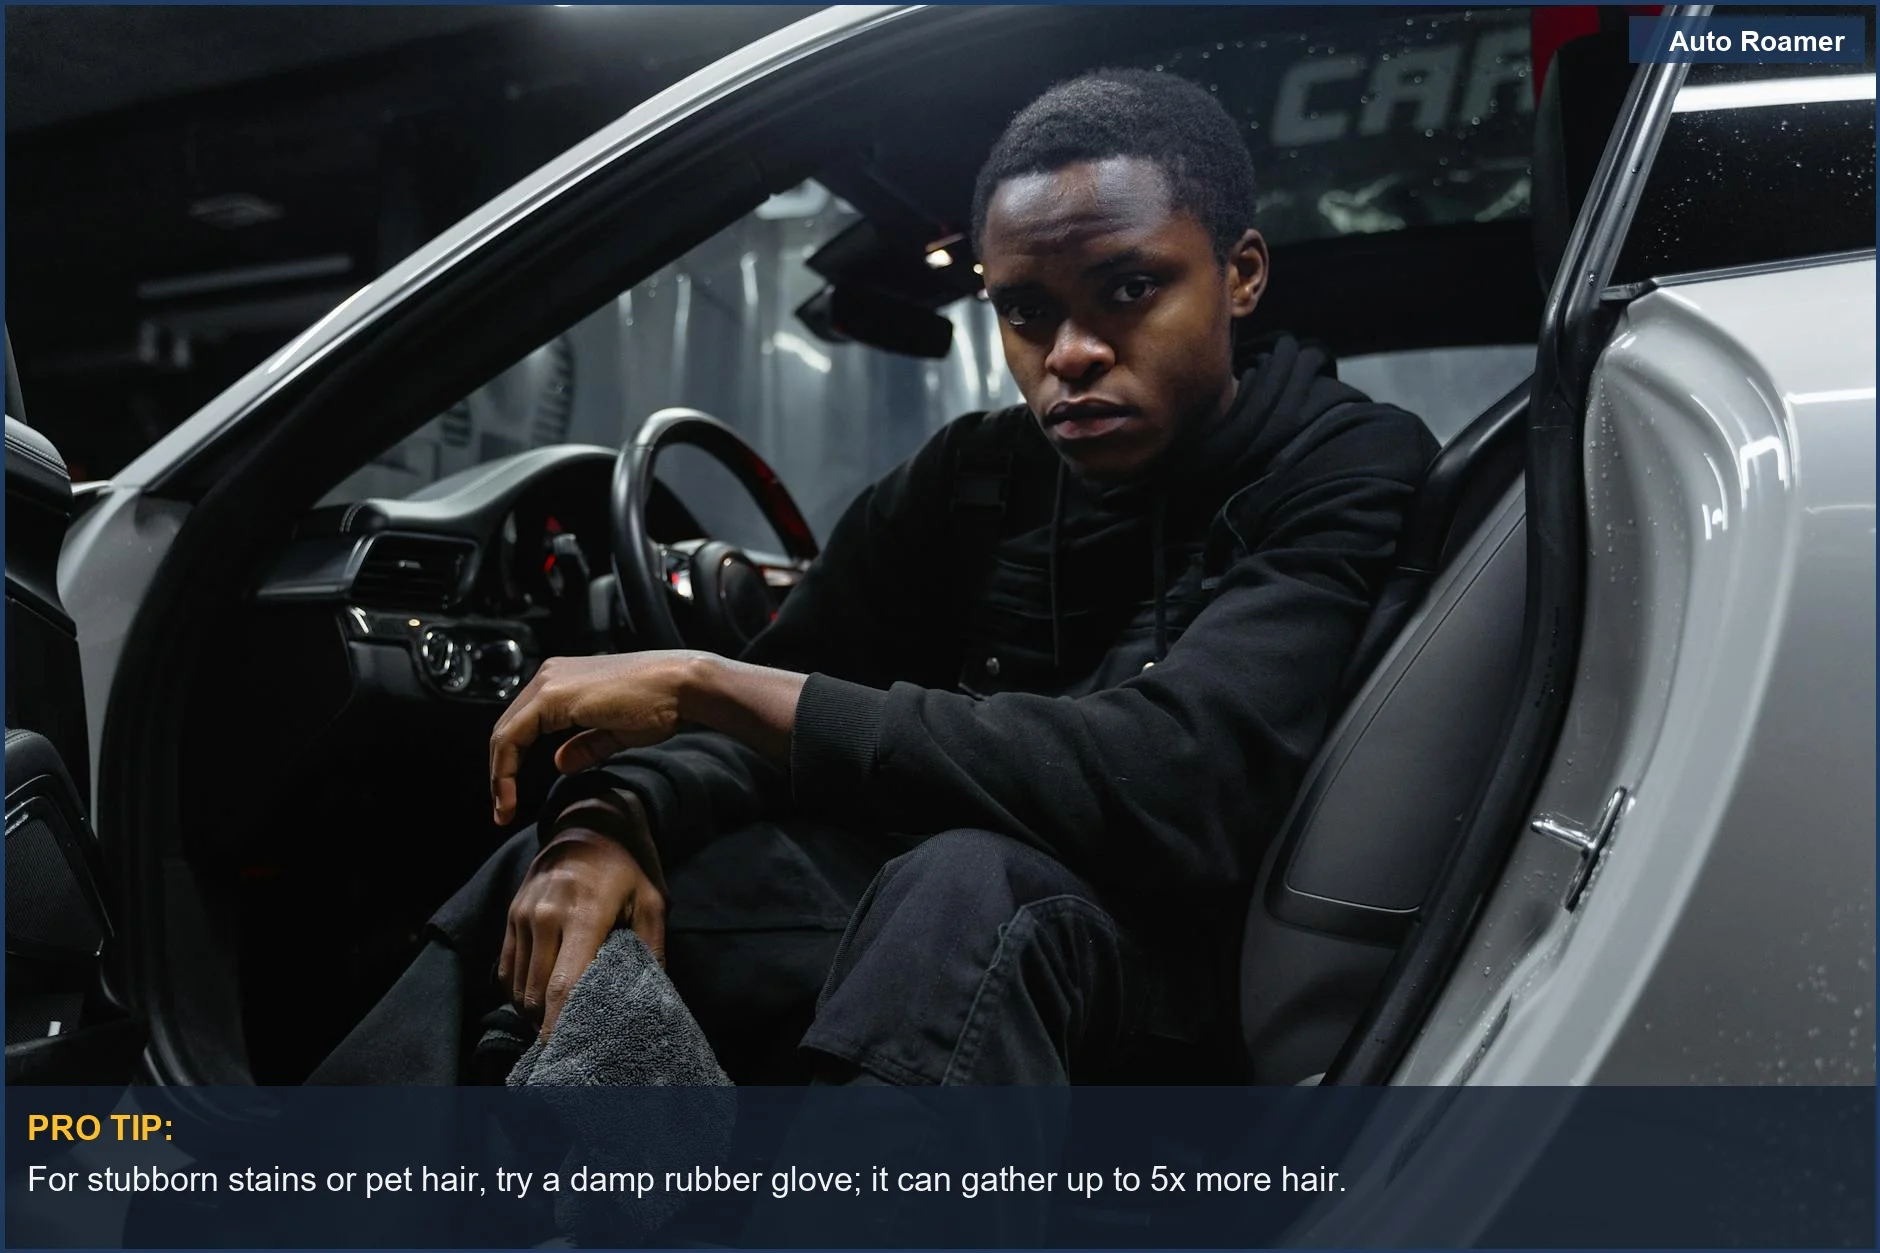
2019 Subaru Outback after a rough camping trip. Dog hair was deeply embedded in the cloth seats. We used the rubber glove trick, which involved rubbing the seats with a damp rubber glove. This method effectively gathered the hair into manageable clumps, making removal surprisingly easy.
2016 Honda Accord with persistent coffee stains on its cloth seats. A paste made from baking soda and water, applied and then scrubbed with a stiff brush, proved highly effective. This DIY approach lifted the stains, restoring the seat appearance.
2020 Toyota 4Runner with leather interior that had seen significant sun exposure. We used a dedicated leather cleaner followed by a good conditioner. The result was an interior that looked remarkably close to showroom new, protecting the leather from further damage.
2014 Chevy Cruze with a lingering smoker smell. After a thorough interior detailing, an ozone generator was used to neutralize the odors. This combination successfully eliminated the persistent smell, making the car fresh again.
After restoring your headlights, you might want to consider addressing any scratches with our tips on fixing car scratches.
Master car interior detailing by using the right techniques for fabric seats, like the rubber glove trick for embedded pet hair.
| Photo by Tima Miroshnichenko
Master car interior detailing by using the right techniques for fabric seats, like the rubber glove trick for embedded pet hair.
| Photo by Tima Miroshnichenko
Mistakes That Cost People
Mistake
Using Windex (or similar ammonia-based glass cleaners) on tinted windows.
Why people make it
It's the go-to for streak-free glass, and many don't realize tint has specific care needs.
What actually happens
Ammonia is a solvent that breaks down the adhesive holding the window tint film to the glass. Over time, this causes the tint to bubble, peel, or detach, ruining the look and potentially requiring costly re-tinting. This is a common pitfall for those new to diy car interior cleaning.
The fix
Always use an ammonia-free glass cleaner specifically formulated for automotive glass, especially if your car has aftermarket tint. Distilled water and a tiny bit of dish soap can also work.
Mistake
Applying "shine" products like Armor All directly to the steering wheel.
Why people make it
The desire for a "new car" look extends to all interior surfaces.
What actually happens
The slick residue makes your steering wheel dangerously slippery, reducing grip and potentially leading to loss of control.
The fix
Use a dedicated interior cleaner and protectant that offers a matte or satin finish, or simply wipe with a damp microfiber cloth. The goal is a clean, dry surface for maximum grip.
Mistake
Soaking cloth seats with too much water during cleaning.
Why people make it
It's easy to think more water equals more cleaning power.
What actually happens
Excessive moisture penetrates deep into the seat foam, creating a breeding ground for mold and mildew, leading to persistent odors and potential health issues. This is a critical point for anyone learning how to clean car seats effectively.
The fix
Always use a light mist of upholstery cleaner and work it in with a brush. Blot moisture with clean microfiber towels. Ensure good ventilation to help seats dry completely. A wet/dry vacuum can extract excess water.
Mistake
Using dish soap to clean leather seats.
Why people make it
Dish soap is a common household degreaser.
What actually happens
Dish soap strips natural oils from leather, leaving it dry and brittle. This leads to premature cracking and a shortened lifespan.
The fix
Always use a dedicated leather cleaner followed by a leather conditioner. These products clean without stripping essential oils, keeping leather supple and protected.
Mistake
Scrubbing the headliner aggressively.
Why people make it
People often apply the same vigorous scrubbing technique used on carpets.
What actually happens
Aggressive scrubbing can delaminate the fabric from its backing, causing permanent sagging. This damage is irreversible.
The fix
Use a gentle blotting or light scrubbing motion with a slightly damp microfiber towel and an appropriate interior cleaner. Avoid saturating the fabric. For stubborn spots, a dedicated headliner cleaner applied sparingly to a cloth is best. Refer to professional guides for the correct technique.
Mistake
Skipping UV protectant on the dashboard and plastic trim.
Why people make it
The importance of long-term protection is often overlooked.
What actually happens
UV rays degrade plastics and vinyl, causing them to fade, crack, and become brittle. This diminishes the aesthetic appeal and value of your car.
The fix
Always finish interior detailing by applying a quality UV protectant to all hard surfaces, especially the dashboard, door panels, and center console. This creates a barrier against sun damage. This step is crucial for a complete car interior detailing guide.
To keep your car running smoothly, don't forget to also tackle maintenance tasks like replacing the air filter.
Comparison overview for Complete DIY car interior detailing without professional tools
Key Takeaways
The true difference between a quick wipe-down and a real detail car interior at home is protection. Always finish with a UV protectant on all plastic and vinyl surfaces, and a fabric guard on cloth seats and carpets. This step prevents premature fading and staining, keeping your interior looking newer for longer Malco Automotive.
Don't wait for a disaster. A simple monthly 30-minute wipe-down, focusing on dusting and spot cleaning, prevents dirt and grime from becoming deeply ingrained. This proactive approach means you'll never need to schedule a grueling 3-hour deep clean Auto Finesse.
Focus on the vacuuming and surface cleaning first. Use a stiff brush for carpets and an all-purpose cleaner with microfiber cloths for hard surfaces. This foundation is critical for an effective diy car interior cleaningDetail King.
Remember that different materials need different care. Leather requires a dedicated cleaner and conditioner, while cloth seats benefit from specific upholstery cleaners Auto Finesse.
The single most important thing to remember is this: Protection is paramount. Without UV protectant and fabric guard, your cleaning efforts are temporary.
To maintain your car's interior, consider strategies for preventing damage, such as those found in our article on keeping your dog safe.
Frequently Asked Questions
What common household items can I actually use to clean my car's interior?
When you're stuck on the road or just want to save some cash, a few household staples can work in a pinch for a DIY car interior cleaning. A solution of 1 cup warm water, ½ cup white vinegar, and ½ tablespoon of dish soap can tackle general grime on fabric surfaces; just mist lightly and wipe. For tougher spots, a bit of baking soda paste can lift stains. Just remember to test any homemade concoction on an inconspicuous area first to avoid damaging surfaces.
How in the heck do I get all this dog hair off my car seats without a special vacuum?
Pet hair is a beast, especially after a long trip with the dog. We've found that a damp rubber glove or a squeegee works wonders; the friction helps clump the hair together, making it easier to pick up. For stubborn strands embedded in fabric, a stiff brush followed by a good vacuum with a crevice tool can pull out most of it. It takes some elbow grease, but it's definitely doable.
Realistically, how often should I be doing a deep clean on my car's interior?
For us road warriors, it depends on how much abuse the interior takes. If you're hitting dusty trails or hauling gear regularly, a quick vacuum and wipe-down every couple of weeks is smart. For a more thorough DIY car interior cleaning, aiming for once a month or every 1,000-2,000 miles is a good rhythm to keep things from getting out of hand. This prevents buildup and makes the next clean much easier.
Is it a terrible idea to use a pressure washer on the inside of my car?
Absolutely avoid using a pressure washer inside your car; it's a recipe for disaster. The intense pressure can easily damage upholstery, warp plastic panels, and force water into electrical components, leading to costly repairs. Stick to a good vacuum, microfiber cloths, and appropriate cleaners for a safe and effective interior clean.
I spilled coffee on my cloth car seats – what's the best way to get the stain out at home?
For cloth car seat stains like that coffee spill, we usually start with a mild solution of dish soap and water, or that vinegar-and-water mix mentioned earlier. Blot the stain gently from the outside in with a clean microfiber cloth, trying not to spread it. For tougher stains, a paste of baking soda and water can work wonders; let it sit for a bit, then gently scrub and blot dry.